


Usage:
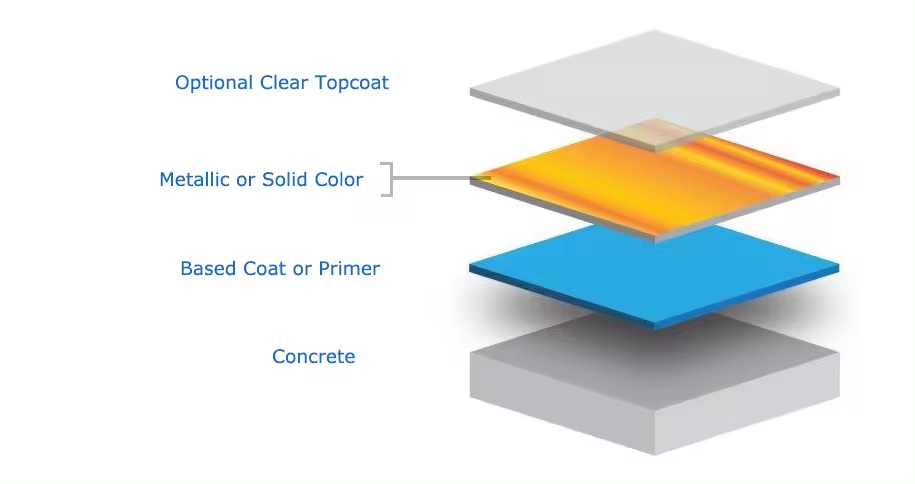
Epoxy Primer (optoinal) : 0.1kgs per square meters for thin coating thickness 0.1mm (if floor not so flat and smooth ,should require more primer resin).
Epoxy Middle coating: suggest coating thickness 1mm ~2mm, if coating 1mm, the usage of epoxy resin will be 1kgs per SQ.M .
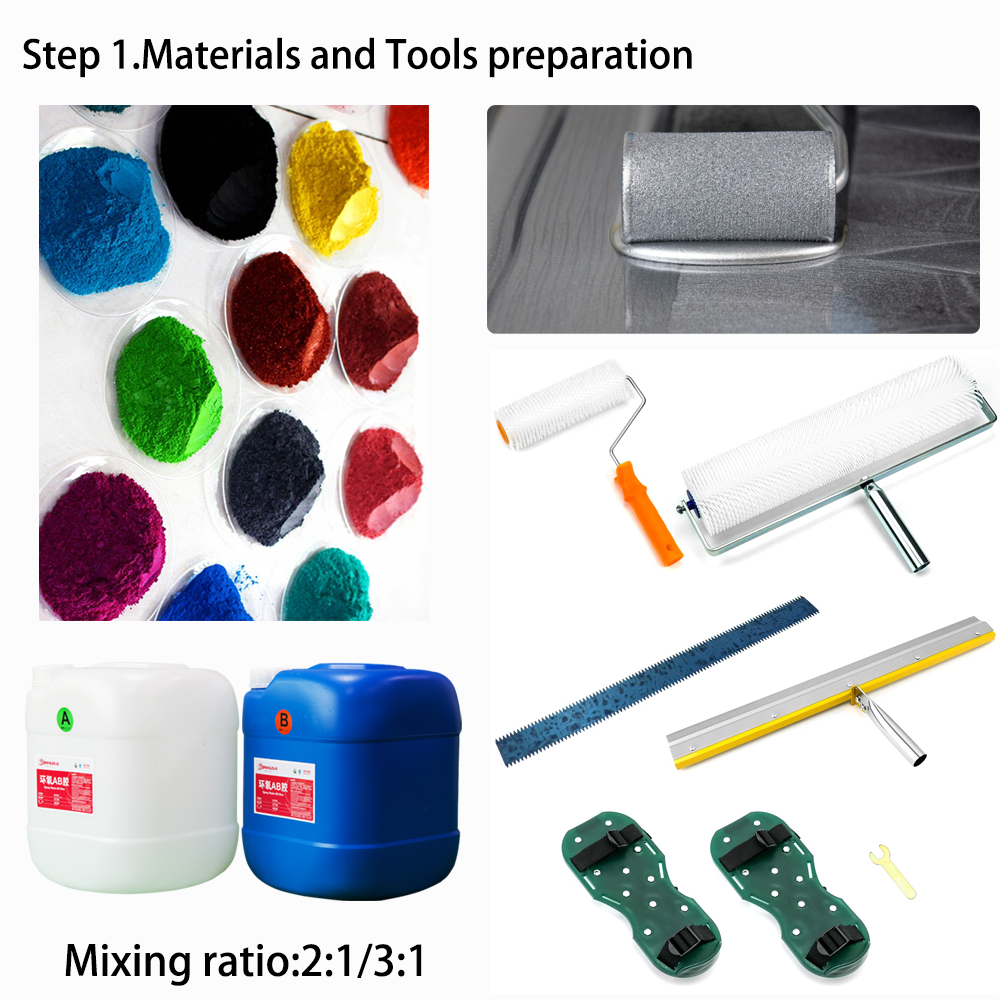
Coloring:Metallic pigment powder or solid pigment cream can be used to mix with middle coating resin
for coloring for making designer floor , the ratio for the pigment to epoxy resin is 4~6% around (more or less will be as per color effect).
for coloring for making designer floor , the ratio for the pigment to epoxy resin is 4~6% around (more or less will be as per color effect).
Top coating :
2 options :
1) 0.3kgs high hardness epoxy resin per square meters for for anti-scratch and glossy smooth effect;
2) 0.06kgs water based PU resin per SQ.M for very high hardness and anti-scratch.

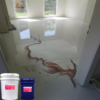
Step 3: Preparing the Floor
1.Seal the perimeter of the floor by using silicone sealant or epoxy adhensive to fill big gap;
2.Fill and cracks, holes or gaps in the floor to create a flat, smooth surface ; For this step we used a small amount of the epoxy primer to mix with some Fumed Silica to create a epoxy filler ,then left this to fully harden;
3.After cure ,sand smooth any rough or high spots and clean the floor thoroughly ,if find anywhere is not sealed well,can apply another thin layer of primer or clear middle coating resin .

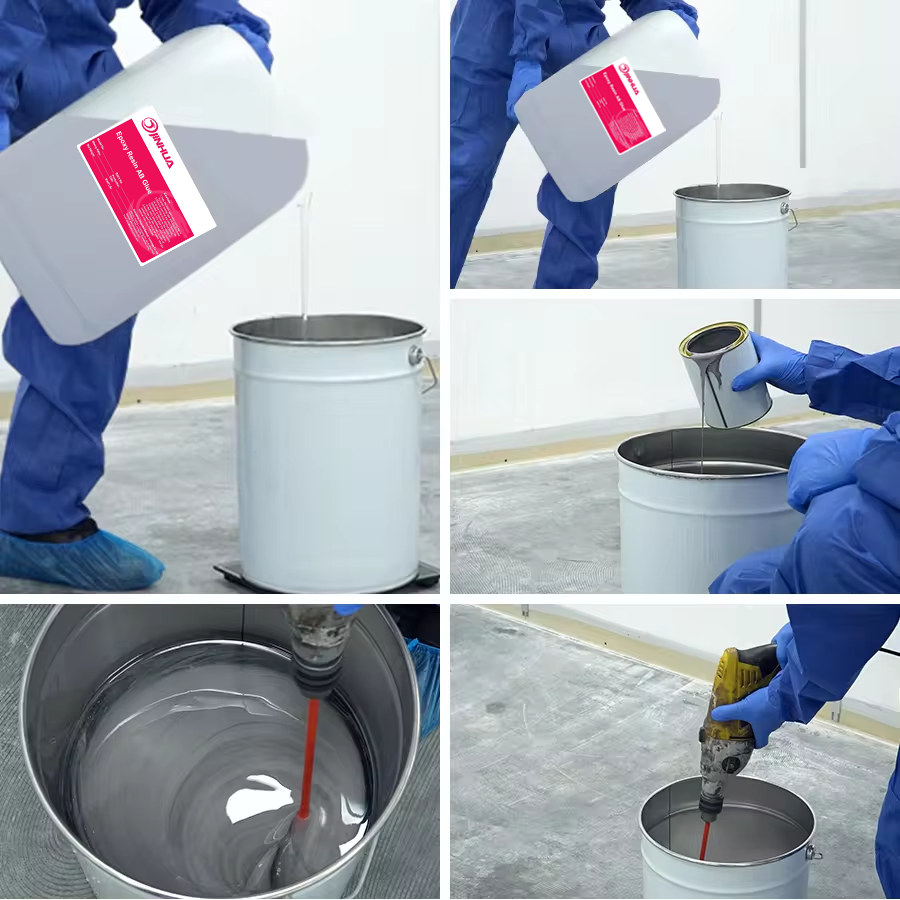
Step 4: Weighing, Mixing and Pigmenting the Resin
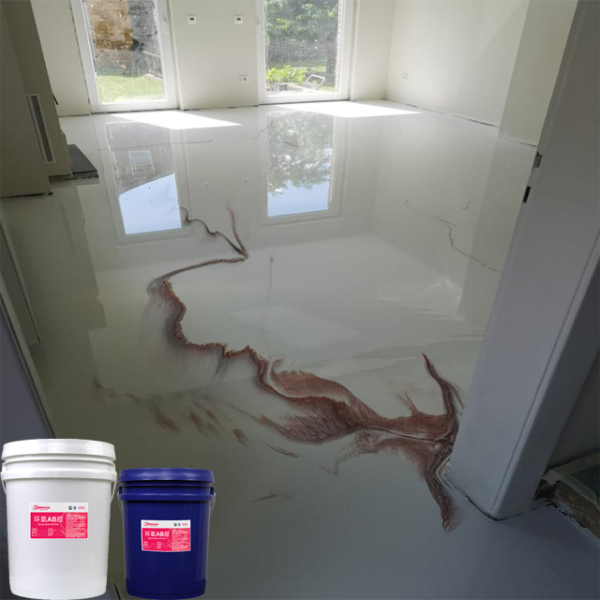
1.Single color or multiple colours can be put to mix as per application area and projects design; 2.Lots of makers are using metallic pigments to add effects like marbling and we would always recommend thorough testing of a small panel to practise any effect you want to achieve before pouring the whole floor.
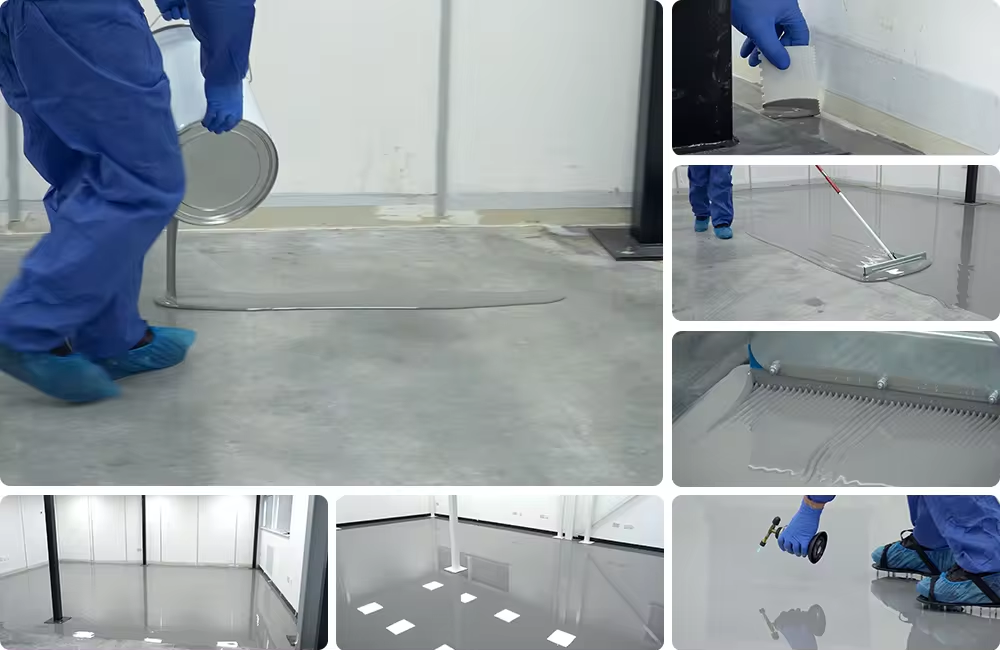
Step 5: Pouring & Curing the Resin
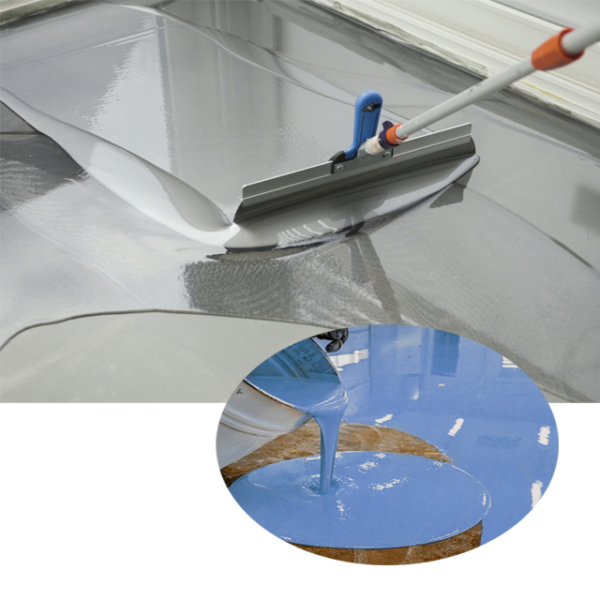
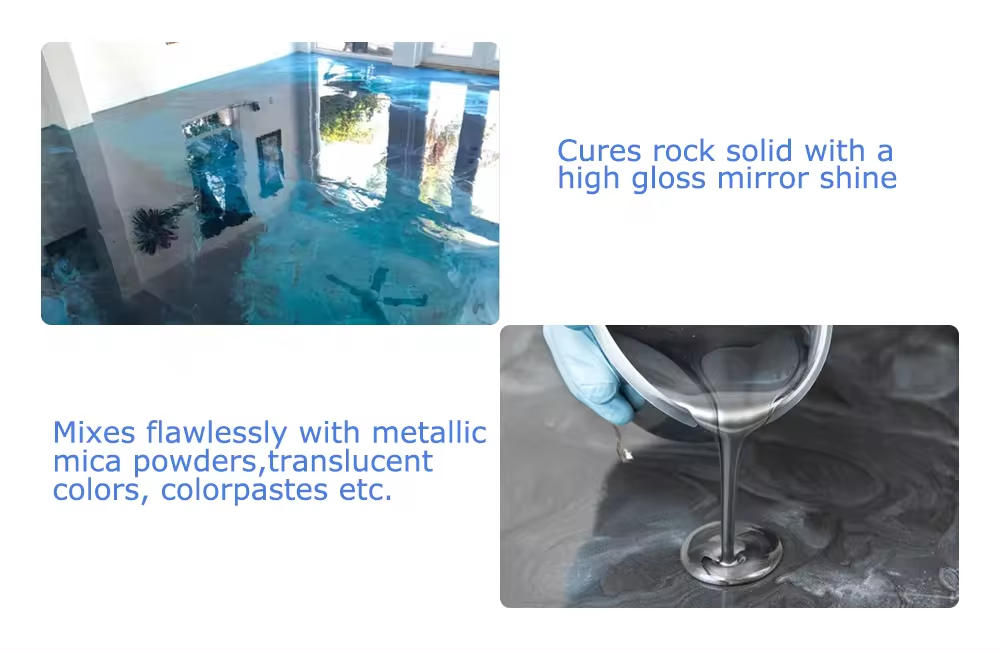
1.Our epoxy coating resin has excellent self-levelling properties, so will only require light working to ensure that it has complete coverage and a consistent thickness – then the resin will do the rest of the work;
2.A small spreader will be used for pushing the resin around any obstructions like pipework or a pillar, but for the bulk of the spreading it’s best to use a notched squeegee for speed and efficiency;
3.For big area,suggest 2 or more people to help mix ratio and pour ;
4.Our epoxy floor resin is well self-degassing so the bubbles will pop on their own,if floor is not presealed well,also may have few small area bubble,in this case just to overcome this we quickly passed over the surface with a propane torch to burst them.
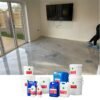
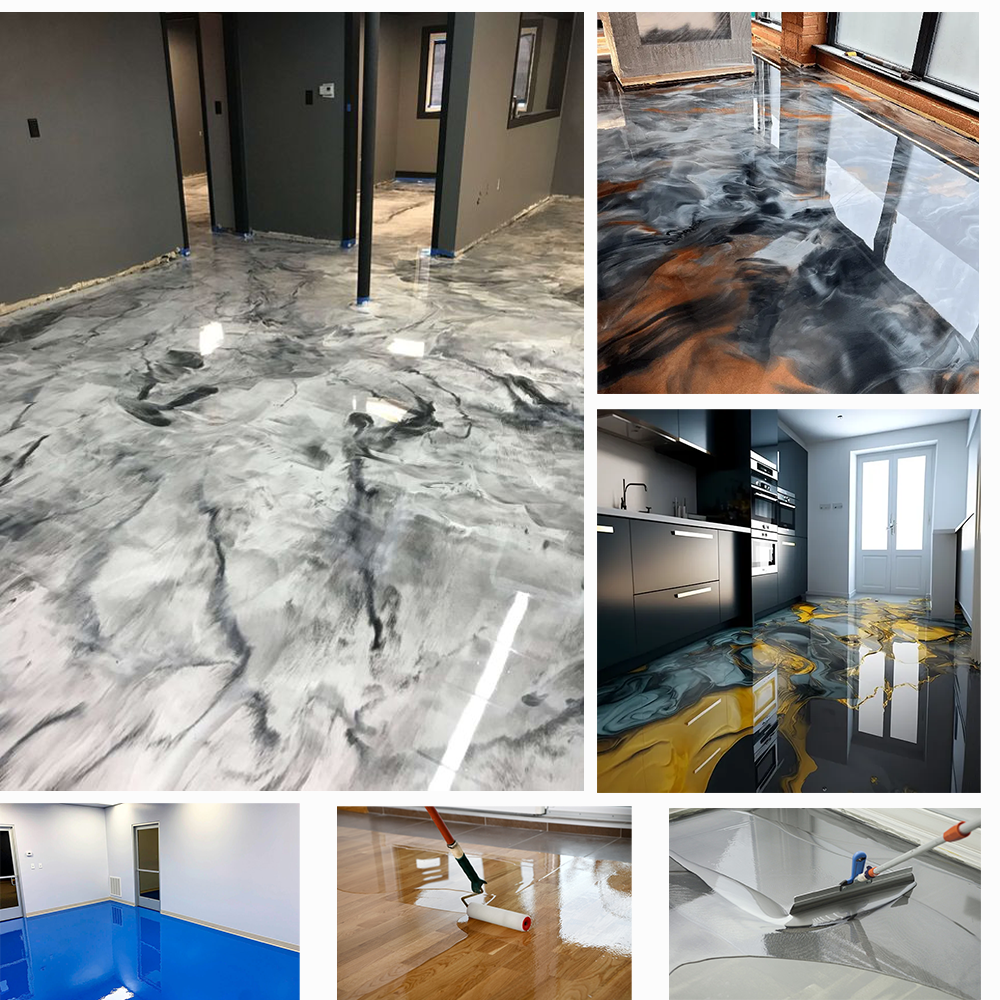
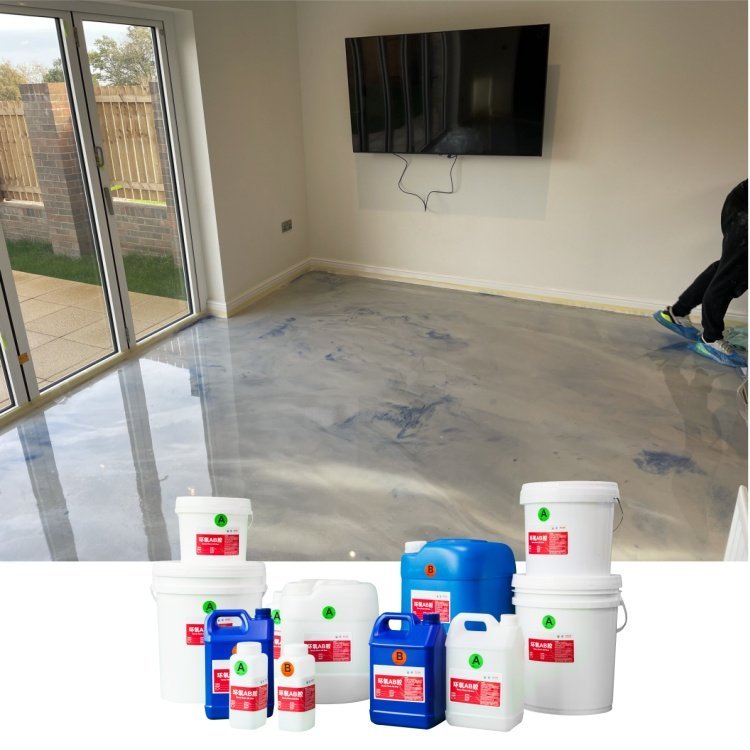
Step 6: The Finished Floor and Application
1.Whole processing will require 2 days around, the resin will be touch dry after 24hours, but should leave it much longer time before bring any furniture or heavy appliances;
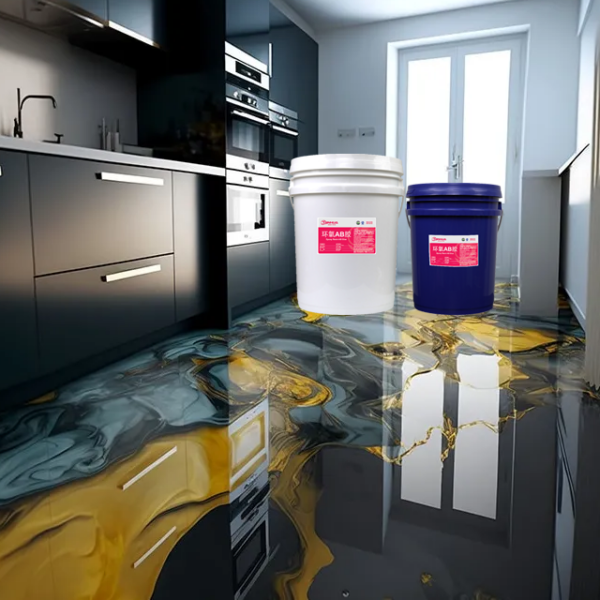
2.Single color or blended colour floor by combining solid color or metallic pigmemts to achieve a unique appearance.It will be also work by adding marbling or veins with metallic pigments or conntrasting colours, using the resin as a clear coat over a decorative floor like pennies, flakes,3D stickers ,vinyl records, crushed glass,mosaics and much more are all possibilities.
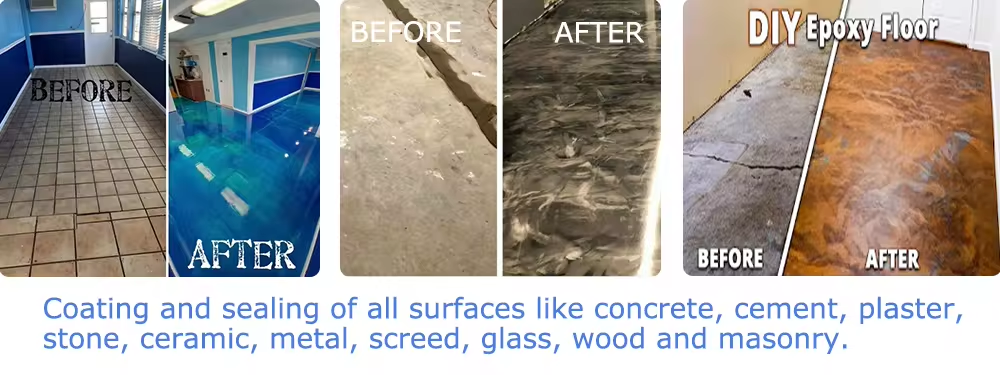
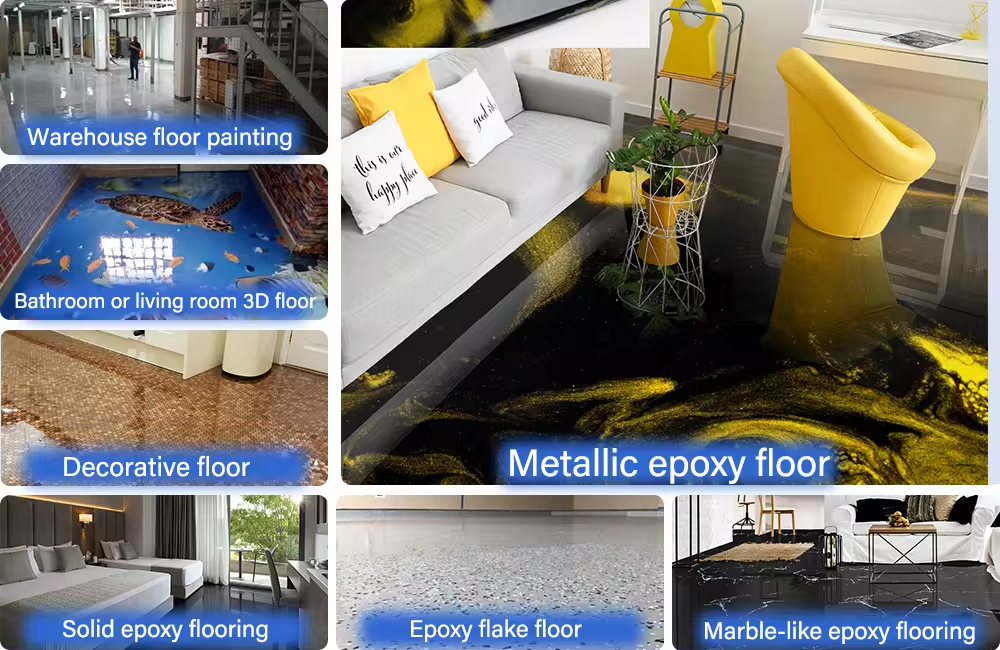
Application
For Garage floor coating ,Industry floor coating ,Residential Floor coating ,Commercial floor coating and designer floors:showroom, shop,hotel ,or designer living space!


