


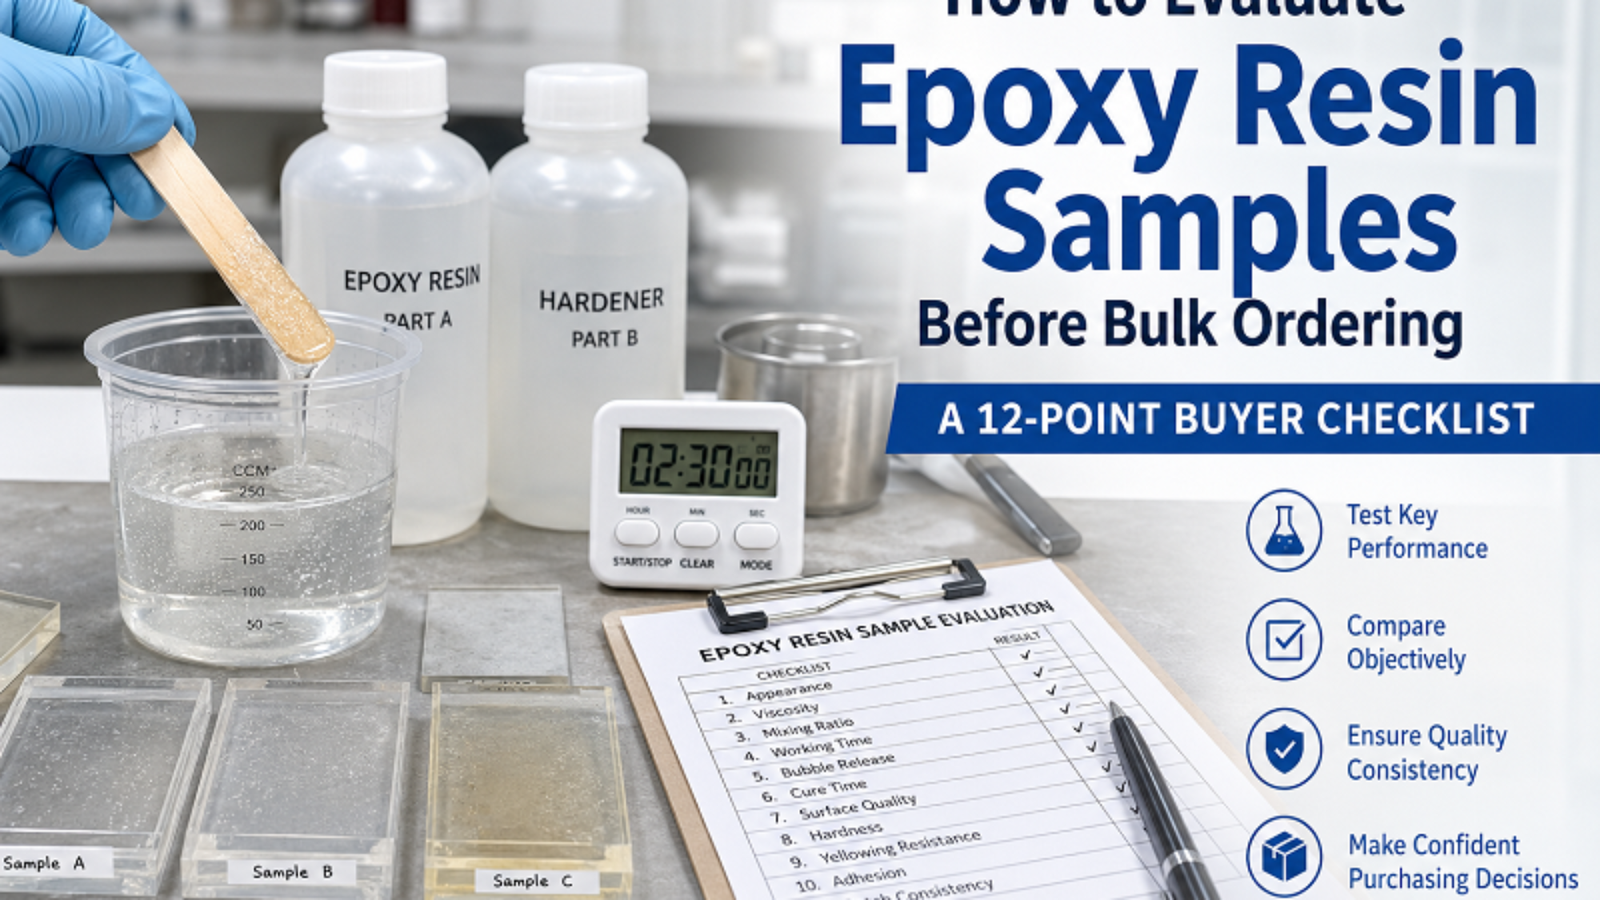
Ordering a resin sample takes five minutes. Deciding whether that sample can represent thousands of kilograms of future production takes a lot more discipline.
For distributors, private-label brands, flooring contractors, furniture manufacturers, and industrial buyers, sample testing isn’t a glance-and-approve step — it’s a qualification process. A resin can sit in a small bottle looking flawless and still fall apart on your production floor. Viscosity that doesn’t match your application. Working time that runs shorter than the data sheet promises. Bubbles that won’t release. A cured surface softer than what your spec calls for. Color that drifts after a few weeks of heat or UV exposure.
This is exactly why epoxy resin sample evaluation needs a structure behind it — not just an eyeball check — before you sign off on a supplier or place a bulk order.
Below is a 12-point checklist for comparing samples, documenting what you find, and locking in a reference standard before you move into commercial-scale production.
1. Confirm the Sample Actually Matches What You’re Buying
Before you test anything, verify what’s in front of you.
The sample should represent the exact formulation you plan to purchase in bulk. Ask the supplier for the product code, the resin-to-hardener ratio, the batch number, the intended application, and the relevant spec sheet.
This matters more than most buyers assume once customization enters the picture. If a manufacturer tweaks viscosity, cure speed, UV resistance, or hardness specifically for your project, get that final formulation clearly labeled and documented. Don’t approve a generic sample and assume a later, customized production run will behave the same way — that assumption causes more disputes than almost anything else in this process.
What to record:
- Product/formulation code
- Batch number
- Mixing ratio
- Manufacturing date
- Intended application
- TDS or relevant technical specs
Traceability is where a proper epoxy resin sample evaluation starts, not an afterthought you add later.
2. Look Closely at Clarity, Color, and Overall Appearance
This is the simplest test on the list, but it only works if conditions stay consistent.
For clear systems, pour identical amounts into matching transparent containers and compare them against a white background, under the same lighting. Check for tinting, cloudiness, floating particles, crystallization, or separation. These differences hide easily when you’re staring into a bottle — a thin, controlled layer makes them obvious.
For river tables, decorative casting, jewelry, and countertops, even a faint tint that’s invisible in a small sample can show up clearly once the resin is poured thick or cured for real. So don’t stop at the liquid. Photograph and record appearance both before and after cure.
3. Check Whether Viscosity Actually Fits Your Process
There’s no such thing as the “best” viscosity in the abstract — only the right viscosity for what you’re building.
A low-viscosity resin releases bubbles more easily and penetrates better; it suits thin coatings and certain deep pour epoxy casting work. A higher-viscosity resin gives you more control over flow and build. The real question isn’t “is this thick or thin” — it’s whether the flow behavior matches how you actually work.
Temperature swings viscosity more than most buyers expect, so test at a controlled temperature and keep every variable identical across suppliers:
- Same room temperature
- Same quantity
- Same mixing container
- Same mixing method
- Same application thickness
Change any of these between Supplier A and Supplier B and you’re no longer comparing resin — you’re comparing conditions.
4. Verify Mixing Ratio and How Easy the Mix Actually Is
A resin can perform beautifully in a lab and still be a headache on a production line.
Mix at the exact ratio the manufacturer specifies. Common systems run 1:1, 2:1, 3:1, or other formulation-specific proportions by weight or volume — never assume two resins with similar applications share a ratio.
While mixing, watch for streaking, unmixed material clinging to the container wall, sudden heat buildup, unexpected thickening, or excess air getting whipped in. For commercial buyers, mixing tolerance matters just as much as the ratio itself. A formulation that goes unusable after a tiny measuring error demands tighter process control than some production floors can realistically deliver.
5. Test Working Time Under Real Conditions, Not Lab Conditions
Every TDS lists a pot-life range. Treat it as a starting point, not gospel.
Pot life shifts with ambient temperature, mixed volume, container shape, and formulation. A 100-gram test batch in a lab beaker behaves nothing like several kilograms mixed in a production bucket — the exotherm alone changes the math.
Track these during testing:
- Mixing start time
- Initial viscosity
- Point where viscosity noticeably climbs
- Practical working-time cutoff
- Gel time
- Ambient temperature
The number on the data sheet isn’t really the question. In any serious epoxy resin sample evaluation, the real question is: does this give your operators enough time to finish the job safely and consistently?
6. Watch How Bubbles Release — and How Much Air Gets Trapped
This one matters most for clear casting resin, table top epoxy, river tables, and transparent coatings.
Mix each candidate the same way and watch how much air enters during mixing. Then time how quickly bubbles rise and clear.
Resist the urge to reach for a heat gun, torch, vacuum chamber, or pressure pot on the first pass — those tools can mask real differences between formulations. Run the first comparison under your normal working conditions.
Look for microbubbles that linger after mixing, surface bubbles, air trapped around embedded objects, foaming, or bubbles still visible after cure. If your actual process uses vacuum or pressure equipment, run a second test with that equipment in play. What you’re really measuring is how well the resin fits your existing workflow — not how it performs in ideal lab conditions.
7. Track Cure Time Through Every Stage, Not Just One
“Cures in 24 hours” tells you almost nothing on its own.
A resin can go tack-free in a day and still need several more days before it hits its intended mechanical strength. Record multiple stages instead of one snapshot:
Initial set → Tack-free → Handling cure → Functional cure → Full cure
Line these up against your actual production schedule. A resin that cures a bit slower might be fine for a small workshop and become a bottleneck on a commercial coating line. A resin that cures very fast might speed up your line while leaving operators too little time to work. The right cure profile is whichever one fits your schedule — not the fastest number on a spec sheet.
8. Inspect the Cured Surface Under Consistent Lighting
Once samples are fully cured, check them side by side, under the same light source.
Look for gloss level, smoothness, craters, pinholes, fish eyes, cloudiness, uneven cure, tacky spots, or any surface defect. For self-leveling products, watch how well the resin levels on its own, without you nudging it into place.
For transparent systems, view the cured sample from multiple angles and against both white and dark backgrounds. A flaw that seems minor in a small test cup becomes very obvious spread across a countertop or a full floor.
9. Test Hardness, Adhesion, and Mechanical Performance
Looking good is not the same as performing well.
Mechanical testing needs to reflect the actual application. Flooring buyers usually care most about adhesion and abrasion resistance. Tabletop buyers care more about scratch resistance and surface hardness. Casting resin buyers need to weigh hardness, brittleness, impact behavior, and how the material machines.
Depending on your application, consider testing:
- Shore hardness
- Adhesion
- Abrasion resistance
- Scratch resistance
- Impact resistance
- Flexural behavior
Ask for the test method or standard behind any technical claim — not just a marketing phrase like “high hardness” or “heavy duty.” Those phrases mean nothing without a number attached, and no epoxy resin sample evaluation should accept them at face value.
10. Check Yellowing and Real-World Environmental Resistance
A sample that’s crystal clear today won’t necessarily stay that way.
This matters most when the finished product will face sunlight, heat, chemicals, moisture, or outdoor conditions — a big reason buyers sourcing UV resin treat this step as non-negotiable. Prepare identical cured samples, keep one untouched as a control, and expose the rest to conditions that match your real-world use — UV, elevated temperature, water, chemical contact, cleaning agents, oils, or solvents.
Then compare each exposed piece against the untouched control. For clear or decorative products, photograph everything under identical lighting so you can track change over time. If UV stability or chemical resistance is a major buying factor, ask the supplier for their own test data before you rely on your own.
11. Run the Test Twice — Consistency Matters as Much as the First Result
One great sample proves the formulation can work. It doesn’t prove the supplier can reproduce it — which is exactly why a one-round epoxy resin sample evaluation is never enough on its own.
For any serious bulk order, request samples from more than one production batch, or run a second qualification test before committing. Compare Batch A against Batch B against your approved reference, and pay close attention to shifts in viscosity, color, working time, cure speed, hardness, and finished appearance.
This step carries extra weight for distributors and private-label brands. Your customers expect the same product in six months that they’re buying today. A supplier’s quality system needs to hold that line — not just produce one great sample under ideal conditions.
12. Lock In a Golden Sample Before You Place the Bulk Order
Once a sample clears your requirements, don’t toss it in a drawer and forget it.
Keep it as your approved reference — often called a “golden sample” — and document everything around it:
| Item | Record |
|---|---|
| Supplier | Manufacturer name |
| Product code | Exact formulation |
| Batch number | Sample production batch |
| Mixing ratio | Resin : Hardener |
| Test temperature | °C / °F |
| Viscosity | Test result |
| Working time | Test result |
| Cure time | Test result |
| Hardness | Test result |
| Appearance | Pass / Fail |
| Application test | Pass / Fail |
| Approval date | Date |
| Approved by | Buyer / QC |
Hold onto photographs, test records, technical documentation, and a physical cured sample wherever possible. When the bulk shipment finally arrives, your QC team has something real to compare it against — not memory, not impressions.
Instead of asking “does this batch look okay,” you get to ask a much sharper question: does this production batch match the approved sample and the agreed spec? That’s a stronger position to negotiate from.
A Simple Scorecard for Comparing Suppliers
Don’t rely on memory when you’re comparing several manufacturers. Score them the same way, side by side — this is where an epoxy resin sample evaluation earns its keep as a buying tool, not just a lab exercise.
| Evaluation Item | Supplier A | Supplier B | Supplier C |
|---|---|---|---|
| Clarity & Color | /10 | /10 | /10 |
| Viscosity | /10 | /10 | /10 |
| Mixing Performance | /10 | /10 | /10 |
| Working Time | /10 | /10 | /10 |
| Bubble Release | /10 | /10 | /10 |
| Cure Performance | /10 | /10 | /10 |
| Surface Quality | /10 | /10 | /10 |
| Hardness / Mechanical Properties | /10 | /10 | /10 |
| Yellowing Resistance | /10 | /10 | /10 |
| Batch Consistency | /10 | /10 | /10 |
| Documentation | /10 | /10 | /10 |
| Application Fit | /10 | /10 | /10 |
The highest total score doesn’t automatically win. Some rows should carry more weight than others — a river-table manufacturer probably weighs clarity, bubble release, low exotherm, and yellowing resistance heavily, while a flooring contractor cares more about adhesion, hardness, cure speed, and chemical resistance. Build the weighting around your own application, not a generic idea of “good resin.”
Where Buyers Usually Get This Wrong
The most common mistake: testing samples from different suppliers under different conditions. Test Supplier A at 20°C and Supplier B at 28°C, and any gap in viscosity, working time, or cure speed might just be temperature — not formulation.
Another common one — approving resin on looks alone. A glossy, clear cured sample can still have poor working time, weak adhesion, excessive brittleness, or thin chemical resistance underneath that shine.
Buyers also tend to commit to bulk orders off a single small test. If the order size is significant, repeat the critical tests and keep the records — don’t treat one good pour as proof.
And don’t separate the product from the supplier. A strong formulation from a supplier with weak batch control or spotty documentation can still cause real damage once you’re buying at scale.
Sample Approval Is the Starting Line, Not the Finish
The point of epoxy resin sample evaluation isn’t just deciding whether you like how a resin looks or feels. It’s building measurable expectations before your money, your inventory, and your customer relationships depend on the outcome.
A structured process lets you compare suppliers on equal footing, catch application-specific risks early, and set a documented reference for every future shipment. Before you sign a bulk PO, you should be able to answer four questions without hesitating:
- Does the resin actually perform in our real application?
- Do the measured properties meet our requirements?
- Can the manufacturer reproduce the approved formulation consistently?
- Do we have a documented reference to inspect future batches against?
If all four check out, you’re in a much stronger position moving from sample to bulk order.
For distributors, OEM/private-label brands, contractors, and manufacturers, these extra steps are cheap compared to what they prevent — production delays, rejected batches, customer complaints, and returns you never see coming until it’s too late.
Test the sample like it’s already a production batch. Approve the bulk order only once the results are repeatable, documented, and proven for the real application.