

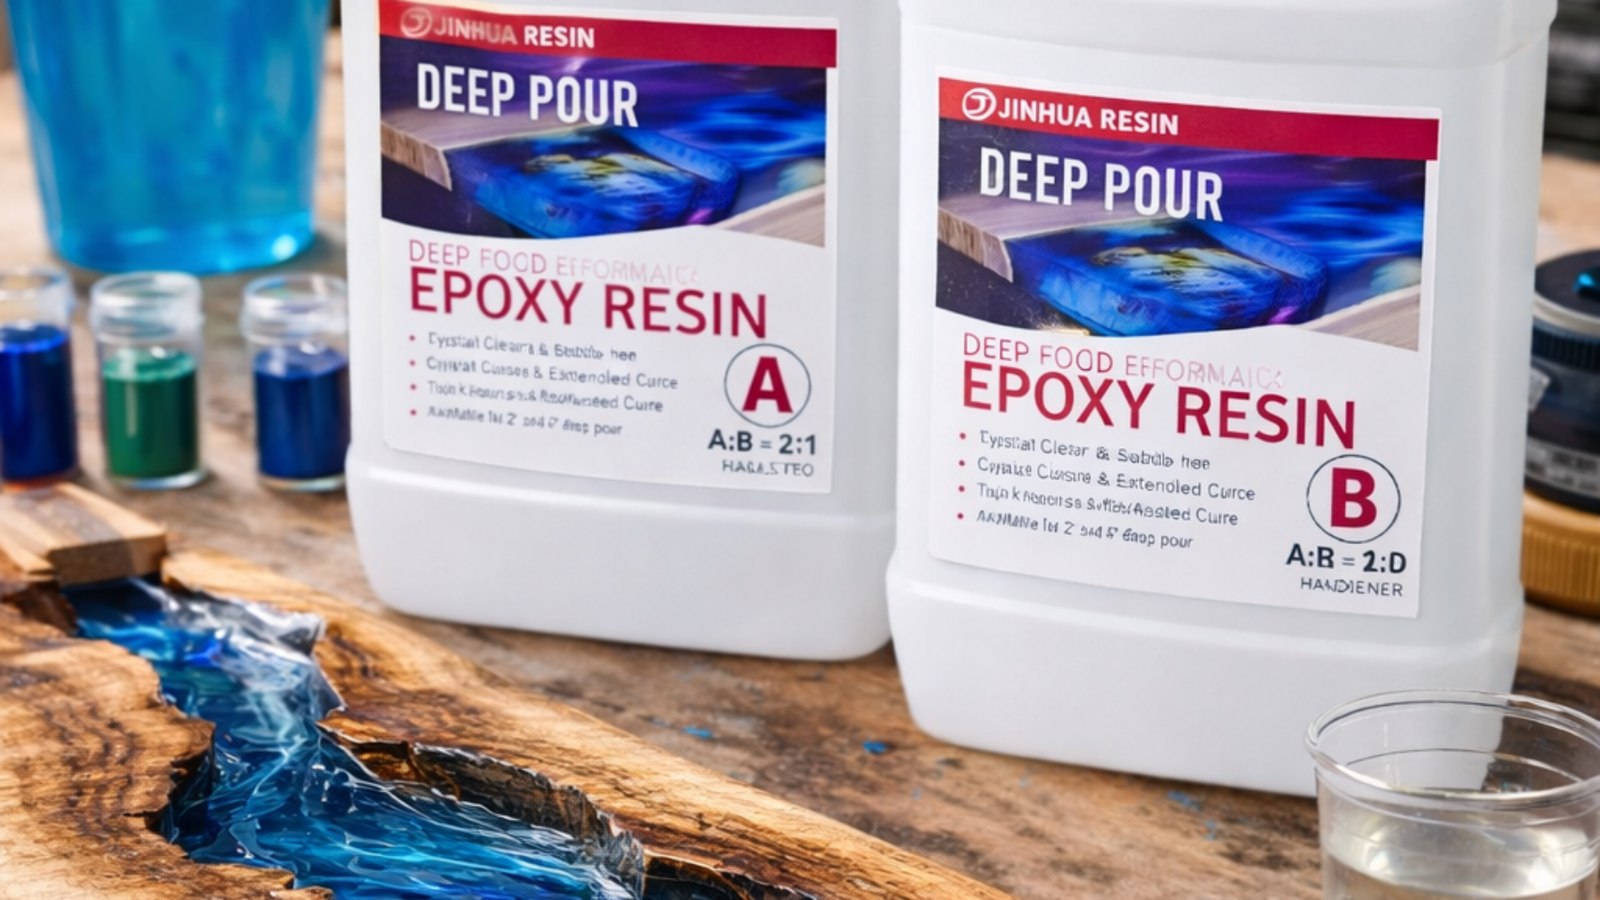
What factors affect the price of deep pour epoxy resin?

What factors affect the price of deep pour epoxy resin?

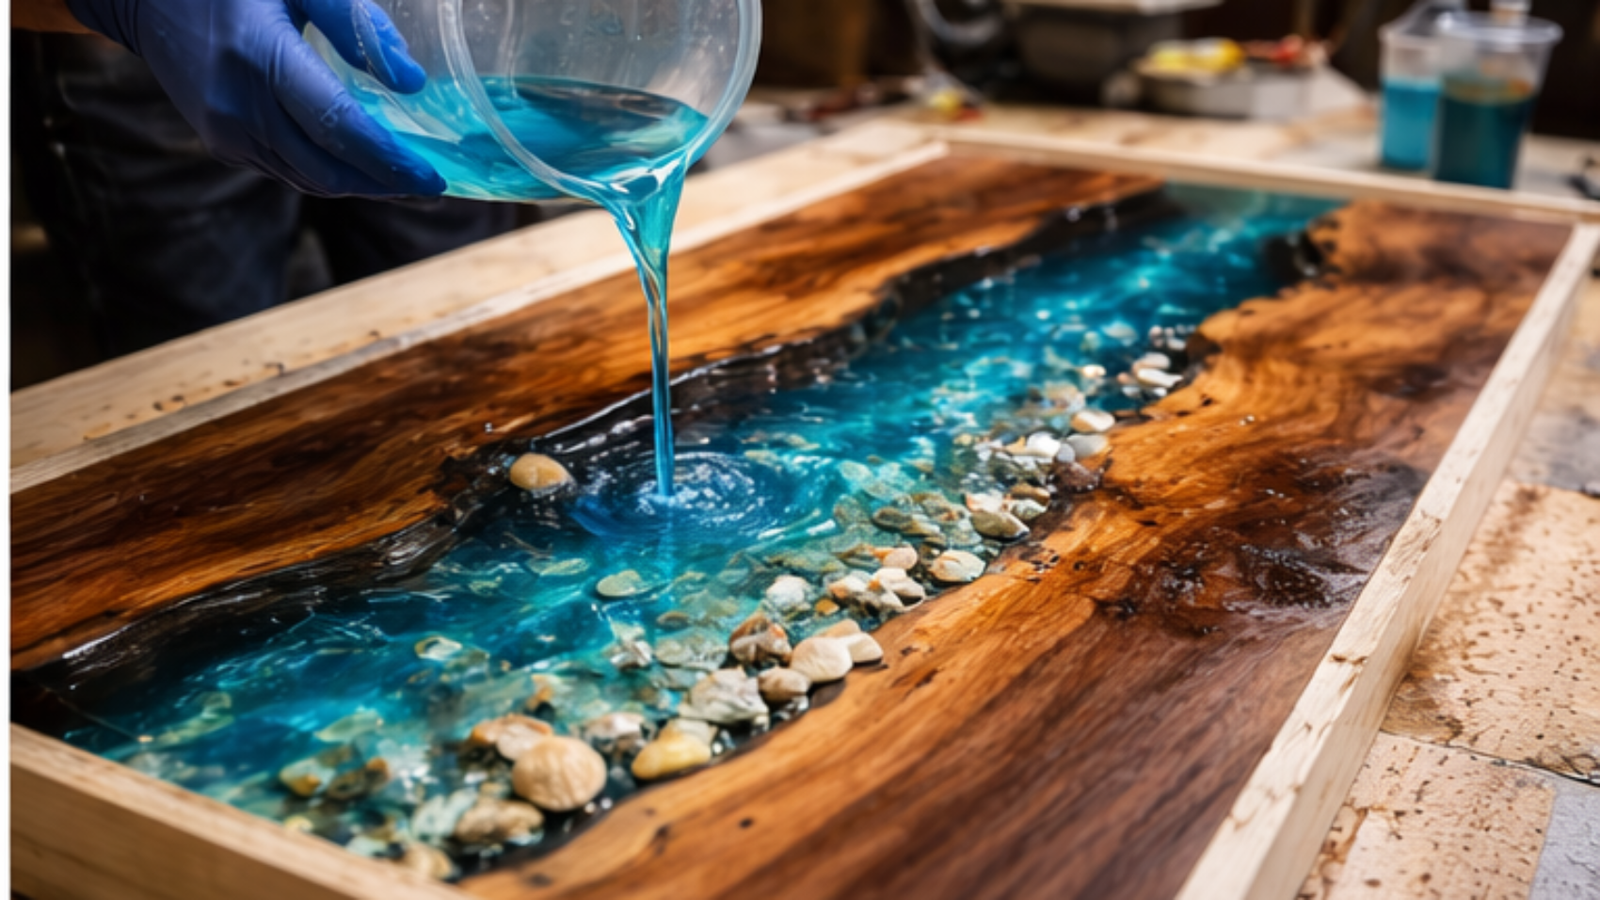
Deep pour epoxy resin is shining brightly in woodworking river tables, artistic castings, and thick-layer crafts, gaining increasing popularity. However, why is there such a large price difference in deep pour epoxy resin on the market? Some are as cheap as tens of yuan per kilogram, while others can sell for hundreds of yuan. In reality, the price of deep pour epoxy resin is not arbitrarily set, but is influenced by various factors. Understanding these factors can help you judge product value and make more rational and appropriate choices when purchasing.
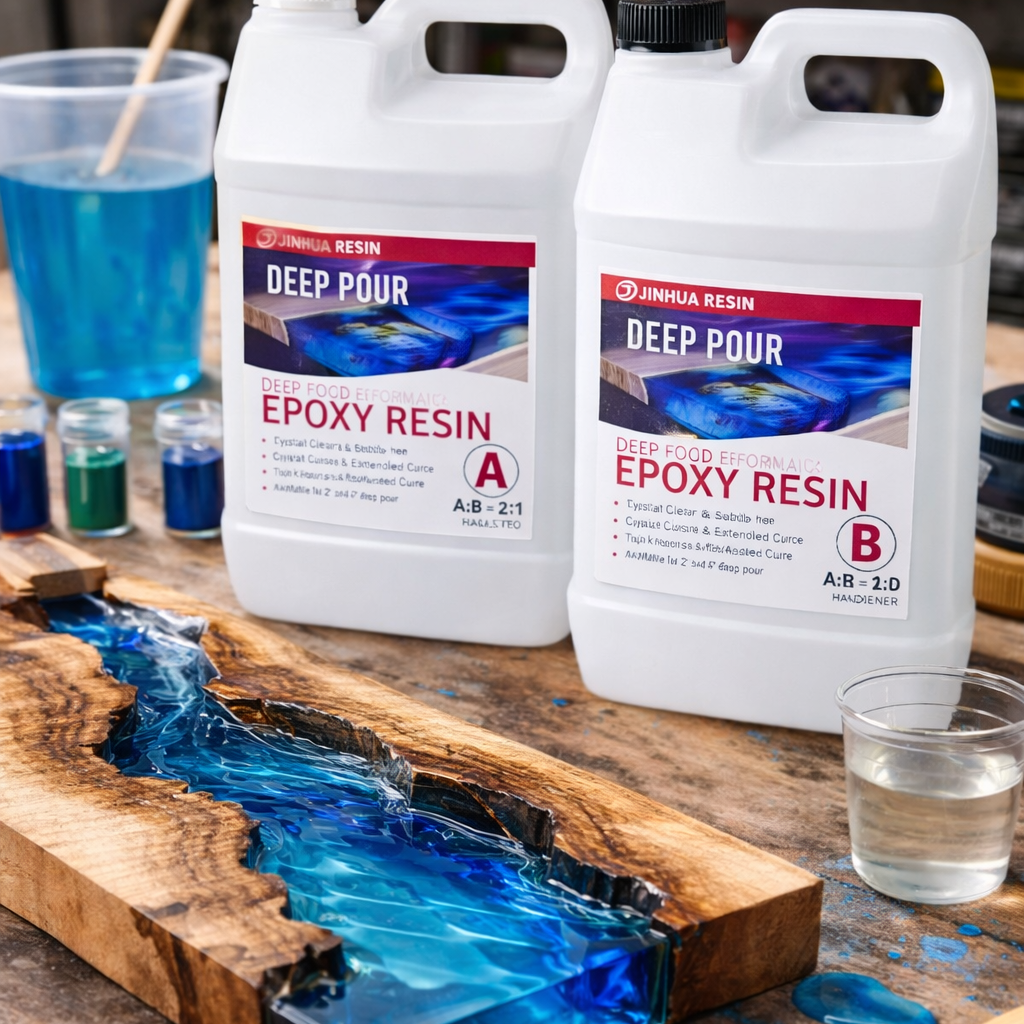
What factors affect the price of deep pour epoxy resin?

First, there is the core factor for deep pour epoxy resin: raw materials. This is the “cornerstone” directly affecting the price. The main raw materials for deep pour epoxy resin are bisphenol A and epichlorohydrin. Fluctuations in the prices of these two raw materials directly affect the price of the finished product. For example, in March of this year, due to the war, the cost of epoxy resin raw materials directly increased, resulting in a price increase of several yuan per kilogram at the end consumer. Besides the core raw materials, auxiliary materials such as curing agents and diluents also affect the cost. Moreover, high-quality raw materials are often 10%-15% more expensive than ordinary raw materials, but they make the epoxy resin clearer, less prone to yellowing, and more resilient after curing. The saying “you get what you pay for” is perfectly exemplified here.

Secondly, product formulations and their differences lead to price fluctuations. Take deep pour epoxy resins and ordinary epoxy resins as examples. deep pour epoxy resins require slow curing and low heat release to avoid cracking and bubbling issues that occur during thick-layer casting. This places higher demands on production technology. Higher-priced products often have more sophisticated formulations, such as adding special additives to achieve natural degassing, UV resistance, and glass-like transparency after curing, making them suitable for high-end art pieces, precision industrial components, etc. Lower-priced products, on the other hand, have simpler formulations, potentially resulting in unstable curing speeds, yellowing, and cracking, making them more suitable for simpler filling projects with lower quality requirements.

Another factor determining the price of deep pour epoxy resins is the casting thickness. The biggest difference between deep pour epoxy resins and ordinary epoxy resins lies in the casting thickness. Ordinary coating-type epoxy resins can typically only be cast a few millimeters, while deep pour products can reach 8-12 inches. The greater the casting thickness, the higher the price. For example, a product capable of casting 2-4 inches in a single pass is typically 20% more expensive than one capable of casting less than 1 inch.

Market supply and demand also affect the price of deep pour epoxy resins. Like most chemical products, epoxy resin prices are influenced by market supply and demand. When downstream industry demand increases, such as in construction, electronics, electric vehicles, or wind power, the demand for epoxy resin increases, driving up prices; conversely, prices decrease.

Finally, brand influence matters. Well-known brands, having undergone long-term market testing, have mature formulas and stable quality, eliminating concerns about curing failures or substandard performance. Their prices are naturally higher than niche brands. Furthermore, these brands usually offer comprehensive after-sales service, such as specific mixing ratios, casting techniques, and solutions for curing abnormalities, which also contributes to the price. Conversely, while some niche brands may be cheaper, they lack comprehensive after-sales support. If problems arise, the customer has to bear the losses, potentially incurring higher costs. In summary, the price of deep pour epoxy resin is the final price resulting from the combined influence of various factors such as raw materials, quality, brand, and market supply and demand. We advise that when purchasing, you should not only consider the price, but also your own needs. A high price does not necessarily mean the best; “suitability” is “best.”

Jinghua has been engaged in the research and sales of epoxy resins for 20 years, offering stable quality, high cost-performance, and a strong after-sales team. If you have any related needs, please feel free to contact us.

How To Clean Epoxy Table Top?

how to clean epoxy table top?

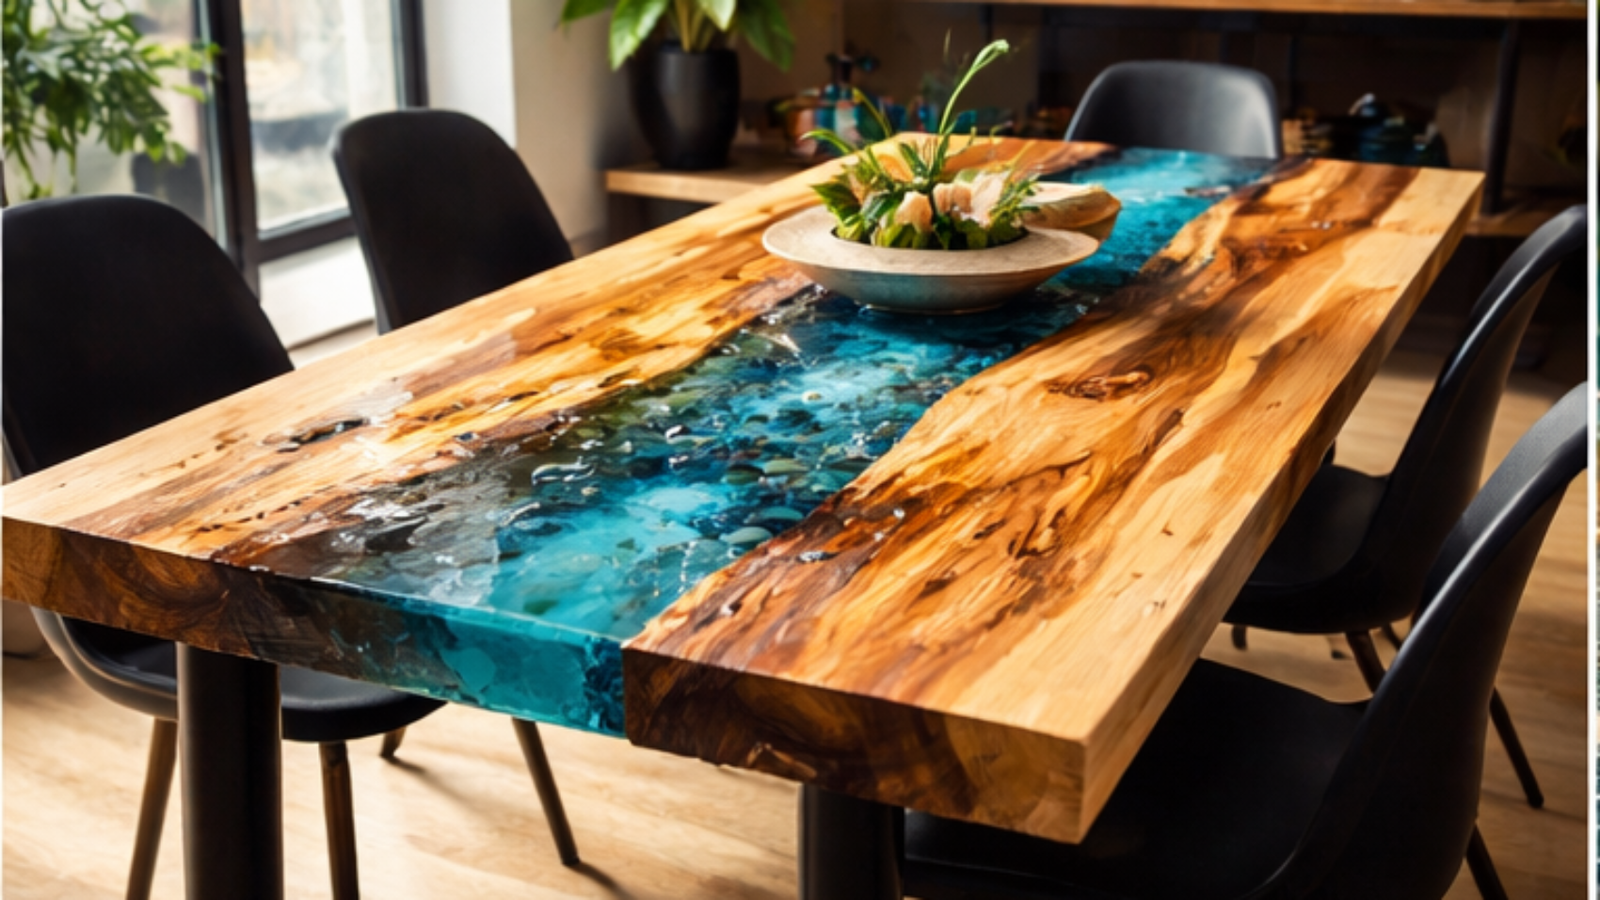
Epoxy table top with their crystal-clear appearance, wear-resistant properties, and excellent water resistance, are increasingly used in our daily lives, such as dining tables, bar counters, and office desks. However, many people don’t know how to clean epoxy resin tabletops, fearing that using the wrong methods will scratch the surface and ruin its gloss. Actually, cleaning epoxy resin tabletops is not complicated. As long as you master the correct methods, you can easily remove stains and maintain the tabletop’s shine for a long time.

How To Clean Epoxy Table Top?

We all know that epoxy resin tabletops are very durable, but they are very susceptible to abrasion and strong corrosion. Therefore, the core principle for cleaning is “gentle and non-scratching, avoiding strong irritants.” Whether it’s daily dusting or stain removal, this principle should be followed to ensure the tabletop maintains its translucent texture for a long time.

First, let’s talk about daily cleaning. In daily use, the most common stains on epoxy resin tabletops are usually dust, fingerprints, or small amounts of water. These are very easy to clean; simply wipe with a soft microfiber cloth or ordinary cotton cloth to remove surface dust and debris. For minor water stains, sweat stains, or fingerprints, gently wipe with a damp cloth and then dry with a dry cloth. The methods described above can resolve most everyday stains without causing any damage to the epoxy resin surface. One important point to note is to avoid using abrasive cleaning cloths or steel wool, as these may leave scratches on the surface, causing it to lose its shine and become dull over time.

For oil stains, such as accidental spills of oil or sauce, a mild detergent can be used. Add a small amount of dish soap to warm water, then use a soft cloth dampened with the detergent to gently wipe the oily area. Rinse with clean water and dry with a dry cloth. This method effectively breaks down grease without damaging the epoxy resin’s gloss. Avoid using detergents containing strong acids or alkalis, as these products may affect the transparency of the resin surface.

For stubborn stains, such as paint or used glue residue, alcohol can be used for cleaning. Pour alcohol onto a soft cloth, gently wipe, then wipe again with a clean, damp cloth, and finally dry with a dry cloth.

Scratches are inevitable for epoxy resin tabletops in daily use. Minor scratches can be restored to their shine using polishing agents, polishing pastes, a soft cloth, or a polishing machine. Deeper scratches may require re-sanding and re-coating with a thin layer of epoxy resin.

Overall, cleaning epoxy resin tabletops isn’t as difficult as you might think. Daily cleaning with warm water and a mild detergent is sufficient to maintain their good condition. For stubborn stains, alcohol can be used appropriately. With proper maintenance, the tabletop can typically remain shiny and clear for many years.

For users who enjoy DIY river tables or resin tabletops, proper cleaning and maintenance not only extend their lifespan but also ensure their creations maintain a beautiful visual appearance.

How To Epoxy A Table Top And Edges​

how to epoxy atable top and edges​?

When making epoxy resin table top, many people focus on the casting process itself, neglecting the edge sealing. However, whether it’s a river table, a solid wood tabletop, or a DIY decorative tabletop, edge treatment directly affects the overall quality and aesthetics. Poor edge treatment can lead to resin drips, bubbles, rough edges, and even cracking.

How To Epoxy A Table Top And Edges​

So, how do you cast/seal epoxy resin onto the tabletop and its edges? Jinghua will explain the entire process in detail, covering preparation, specific construction steps, and practical tips.

Why seal the tabletop edges?

During the epoxy resin casting process, wood edges are usually quite rough, and wood itself has a certain degree of absorbency. Directly casting the resin can easily lead to the following problems: the wood absorbs the resin, causing bubbles; drips at the edges; uneven resin layer thickness; and an uneven final surface.

Therefore, a sealant layer is usually applied before the actual casting. This thin layer of resin seals the pores of the wood, making subsequent casting smoother.

How to seal the edges of a desktop?

Edge treatment is crucial for edge sealing. First, check if the desktop edges are flat. If there are gaps or cracks, fill them with wood putty, let it dry, and then sand it smooth. For a thicker and more aesthetically pleasing edge, you can install a wooden trim around the bottom edge of the desktop. This increases edge thickness and strengthens the surface, reducing the amount of epoxy resin needed and lowering costs. Next, wrap the desktop edges with masking tape, ideally two layers, extending 1-2 cm above the edge to prevent epoxy resin leakage during pouring. Make sure the masking tape is firmly attached without gaps.

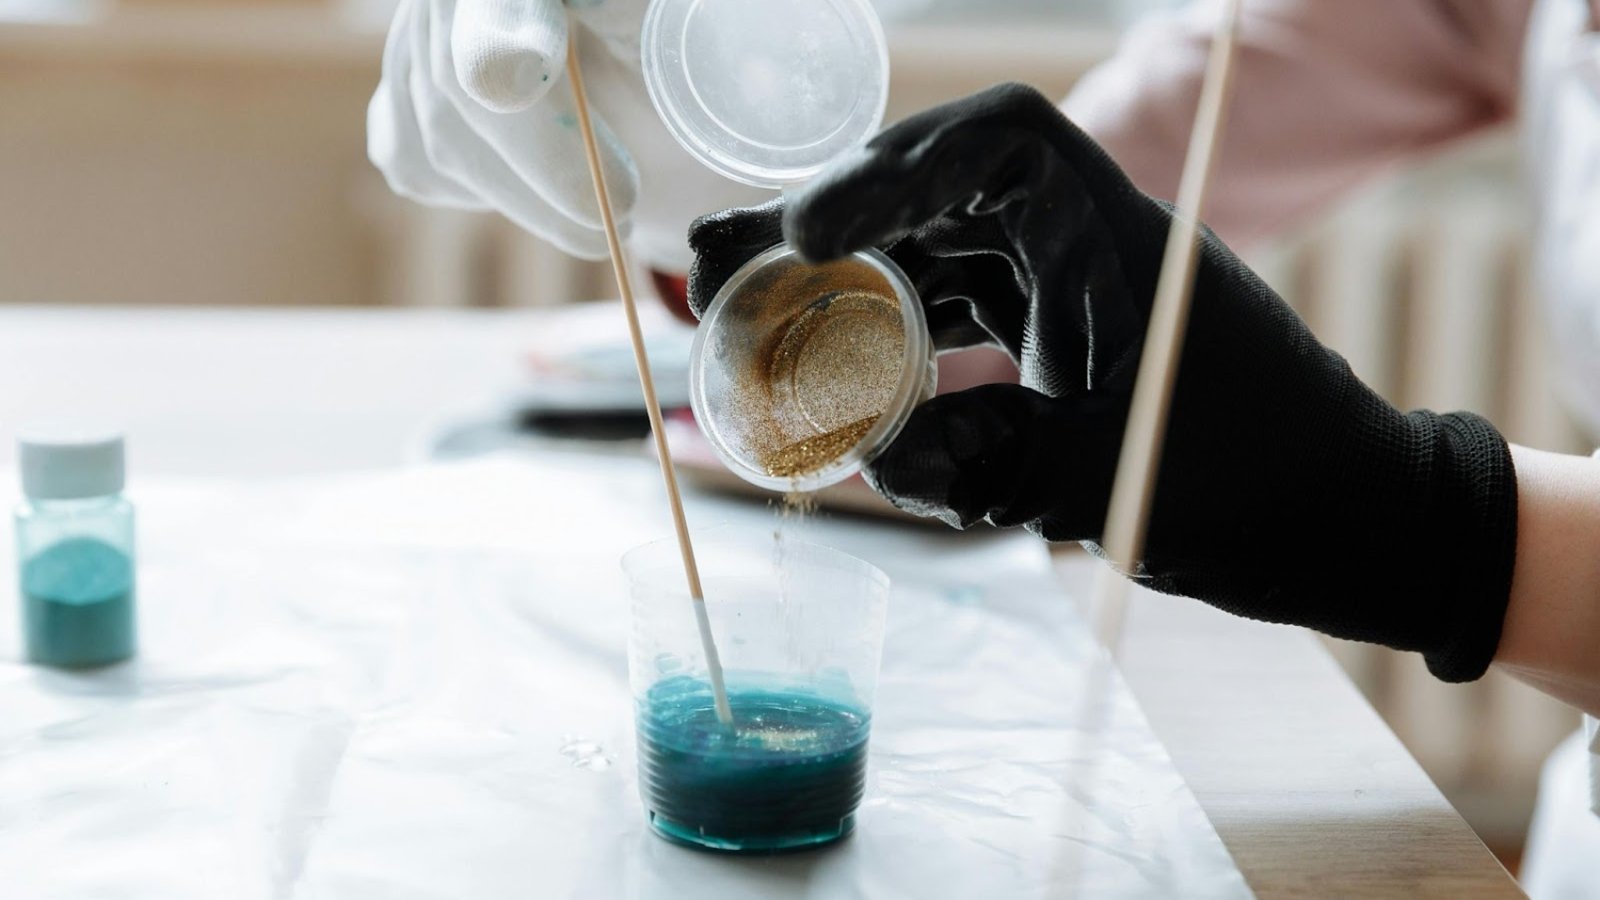
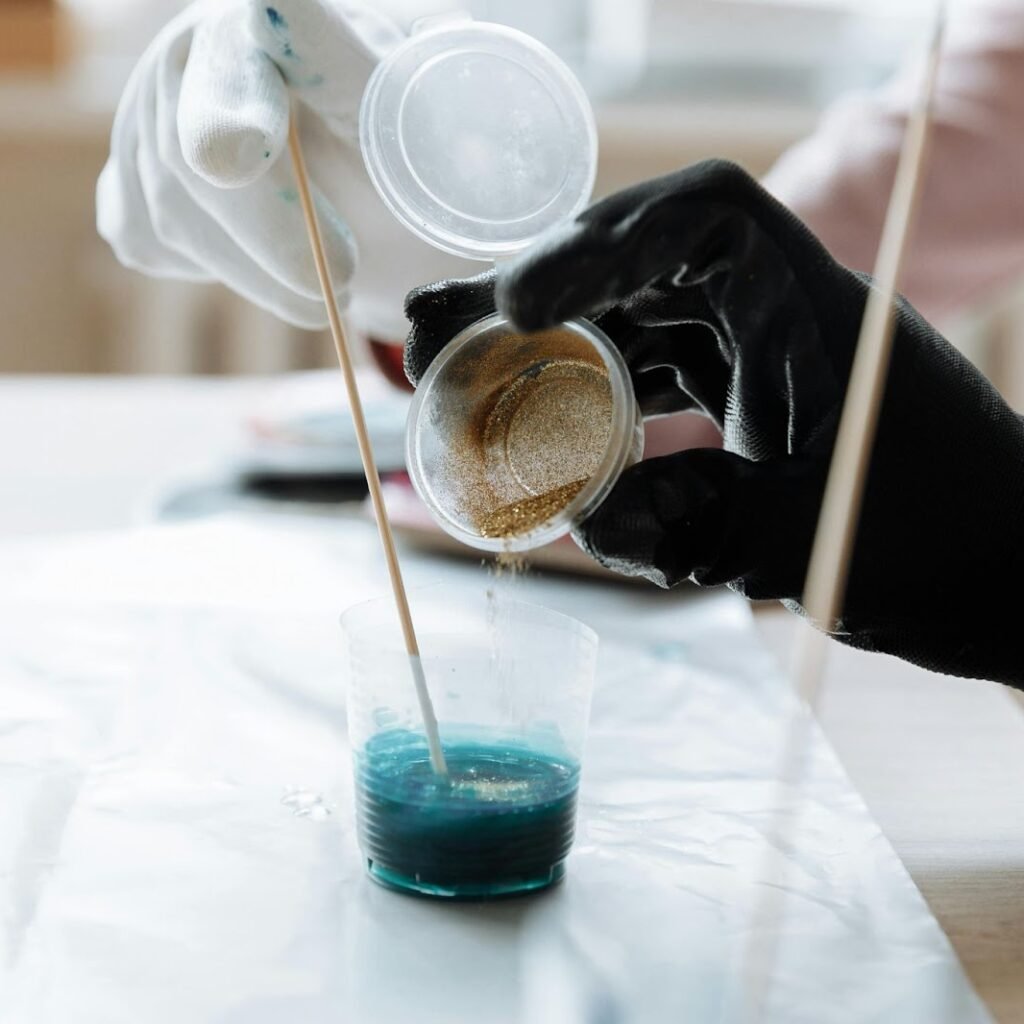
The next step is mixing the epoxy resin. This is a critical step; an incorrect ratio will lead to incomplete curing, resulting in a sticky and wrinkled desktop. Different brands of epoxy resin have different resin-to-hardener ratios, commonly 1:1 or 2:1. Always carefully read the product instructions. It is recommended to weigh the epoxy resin using an electronic scale and pour it into a clean plastic container. Stir in one direction at a constant speed for at least 2-3 minutes until there are no streaks or air bubbles. While stirring, be sure to scrape the edges and bottom of the container to ensure the two materials are completely mixed, avoiding any unmixed resin residue that could lead to uneven curing.

After mixing, apply a top coat (a thin coat of epoxy resin) to the tabletop and edges. This step mainly seals the pores of the substrate, preventing air bubbles and pinholes during subsequent pouring. Apply evenly with a foam brush or scraper, following the grain of the resin. Apply more to the edges to ensure complete coverage. After application, let it stand for 5-10 minutes. Gently blow the surface with a heat gun or hairdryer to remove any small air bubbles. Be careful not to use too high a temperature to prevent the epoxy resin from curing too quickly.

After the top coat has dried (generally 1-2 hours, depending on ambient temperature and product formulation), you can proceed with the actual pouring and sealing. Slowly pour the prepared epoxy resin onto the tabletop, spreading it from the center outwards. Gently smooth it with a scraper, controlling the overall thickness to 1-2 mm. Ensure the edges are completely covered with epoxy resin, filling the gaps between the masking tape and the tabletop to form a seamless edge seal. For marble, wood grain, or other decorative effects, add a small amount of paint to the epoxy resin and gently create the texture with a stirring stick. Beginners are advised to test on a small area first before proceeding to a larger area.

After pouring, proper curing is crucial, as this step determines the final result. Place the tabletop in a well-ventilated, dust-free environment at a temperature of 20-25℃, avoiding direct sunlight. It’s best to cover it with a plastic sheet or cardboard box to prevent dust from settling on the surface. Curing time is generally 24-48 hours; refer to the product instructions for specific times. Do not touch or move the tabletop immediately, as this can easily leave fingerprints, scratches, or even cause surface deformation.

Finally, finish the finishing touches. After the epoxy resin has fully cured, peel off the masking tape from the edges, and gently sand the edges and the surface of the table to remove excess epoxy resin and burrs. After sanding, wipe it clean with a cloth, then apply a thin coat of epoxy resin for a glossy finish. Let it dry, and you’re done.

what is the best deep pour epoxy?​

what is the best deep pour epoxy?​

In the field of epoxy resin applications, deep pour epoxy resin is undoubtedly a very popular material. Whether it’s for resin crafts, creating trendy river tables, industrial mold casting, or filling wood gaps, it’s indispensable. Many people want to buy the “best deep pour epoxy resin,” but there’s no absolute “best,” only the choice that best suits your needs—after all, beginners and experienced users, home and industrial users, have completely different priorities. Today, we’ll use simple language to explain the worthwhile deep pour epoxy resins on the market, helping you avoid pitfalls and choose the right one.

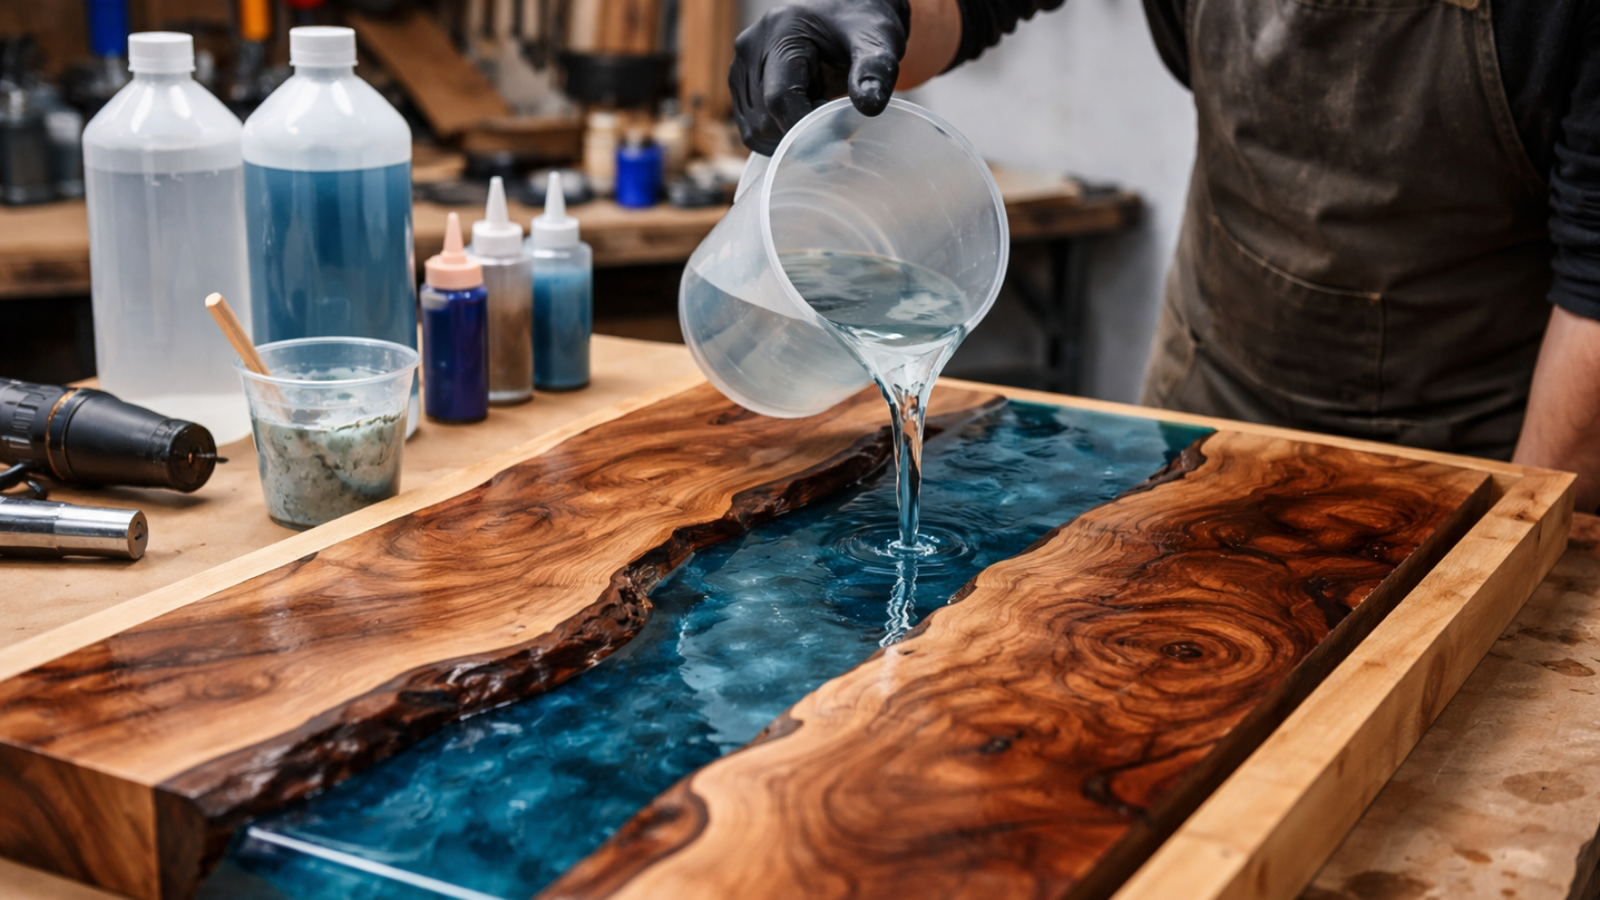
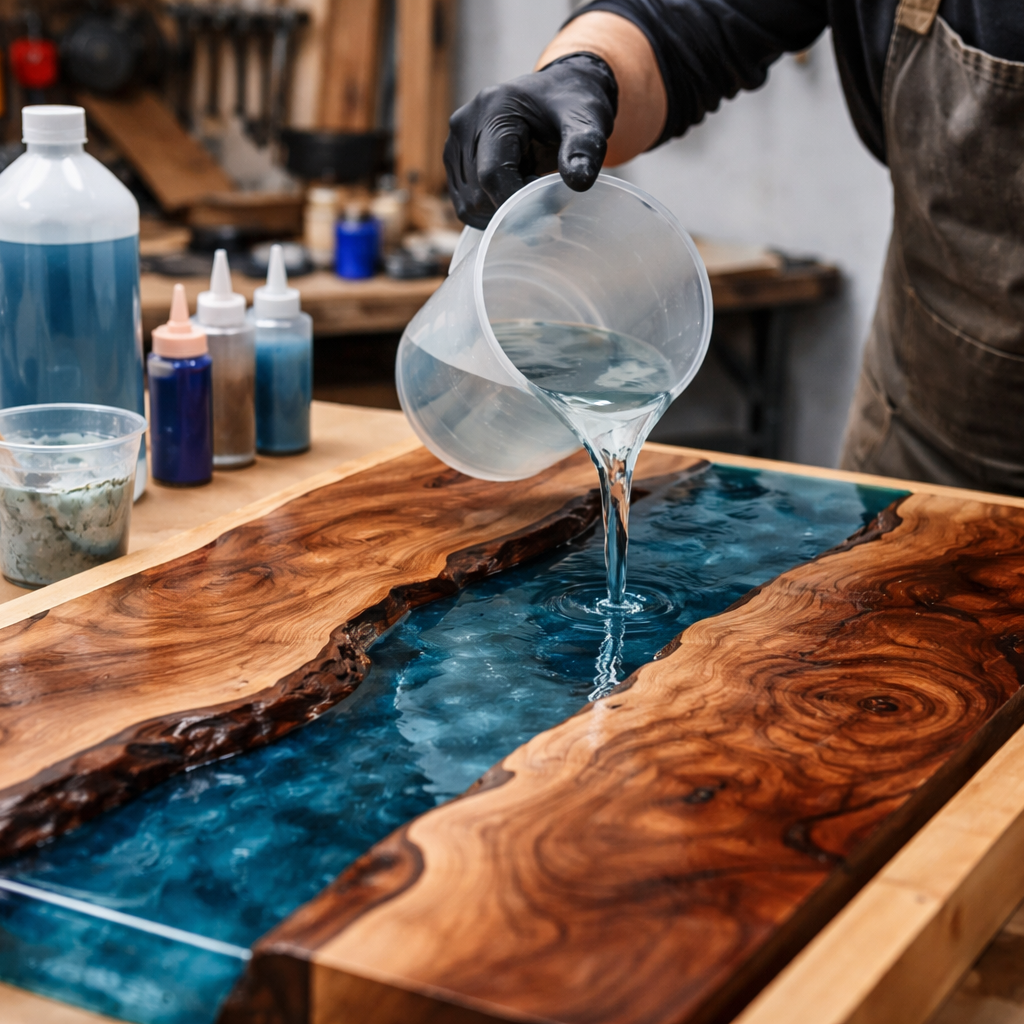
艺术家倒树脂制作河流桌

What is deep pour epoxy resin?

Deep pour epoxy is a low-heat epoxy material specifically designed for thick-layer casting. Unlike ordinary epoxy, it achieves thicker casting layers while maintaining good transparency by extending the curing time and reducing the exothermic reaction. Typically, it can cast 2–4 inches (approximately 5–10 cm) in a single pass, and some products can even achieve thicker castings (4–8 inches).

What are the characteristics of high-quality deep pour epoxy resin?

High-quality deep pour epoxy resin will possess the following characteristics; recognizing these will ensure you make the right purchase.

Low viscosity: Good deep pour poxy resin typically has a low viscosity, allowing air bubbles to escape more easily. It also allows the resin to level naturally, resulting in a more transparent finished product.

Long curing time: One of the biggest differences between deep pour resin and ordinary resin is its longer curing time. By extending the curing time and reducing exothermic reactions, surface drying time is generally around 24 hours, with complete curing requiring 48-72 hours.

High transparency: High-quality deep pour epoxy resin generally has good transparency, especially important for projects like river tables and artistic encapsulation. High-quality deep pour epoxy resin can achieve a glass-like high-transparency effect after complete curing, and is less prone to fogging or air bubbles.

Resistance to yellowing: Resistance to yellowing is also a crucial factor for high-quality deep pour epoxy resin. During long-term use, epoxy resin is prone to yellowing due to ultraviolet radiation. Therefore, high-quality deep pour epoxy resins typically contain high UV resistance agents to improve their resistance to yellowing.

Is more expensive always better?

Many people choose the most expensive deep pour epoxy resins, but this isn’t necessarily true. There’s no single answer to “the best deep pour epoxy resin.” Different applications require different types of products, so there’s only what’s most suitable for your needs, not a single “best.”

For example, for common household items like river tables and large wooden tables, we can choose products with low heat release, 2-4 inch pour thickness, and high transparency to reduce bubbling and cracking.

Or, for small DIY pours, we can choose deep pour epoxy resins with slightly faster curing speeds and lower costs, offering better value for money.

Conclusion In general, high-quality deep pour epoxy resins have characteristics such as low viscosity, long curing time, high transparency, and strong resistance to yellowing. However, there is no single “best” deep pour epoxy resin; only what’s most suitable for your needs. Choose based on the size of your project, your experience, and your budget to achieve a satisfactory finished product.

what is the best epoxy resin for table tops?

what is the best epoxy resin for table tops?

Whether you’re making your own solid wood tabletop, renovating an old table, or creating a trendy river-themed table, epoxy resin is a core material for creating high-quality, durable desktops. However, the market offers a wide variety of epoxy resins, ranging from a few dollars per kilogram to hundreds of dollars per kilogram, leaving many people overwhelmed and unsure which one is right for them. Actually, choosing the right epoxy resin for your desktop isn’t about getting the most expensive; it’s about considering your specific needs, the pouring thickness, and resistance to yellowing. Below, we’ll explain in detail how to choose the right epoxy resin for your desktop, focusing on several key aspects.

Epoxy Table Resin 3

Selection of core performance

Many people only consider price and transparency when buying epoxy resin, neglecting other crucial properties. We must understand that desktops endure friction, sunlight, and daily bumps over extended periods, so material selection must balance practicality and durability. Therefore, these three properties are key when choosing epoxy resin for desktops:

First is resistance to yellowing, which is paramount. Ordinary epoxy resins with insufficient UV resistance will yellow and darken within just six months under direct sunlight and prolonged exposure to artificial light, turning a once-bright desktop gray and significantly diminishing its aesthetic appeal. Therefore, we should prioritize styles with high UV resistance or high resistance to yellowing, especially for desktops placed near windows or in well-lit areas, as this property directly determines the desktop’s lifespan and appearance.

Secondly, a balance between hardness and toughness is crucial. Many people blindly pursue high-hardness epoxy resins. While high-hardness epoxy resins achieve high hardness after curing, they become brittle, causing cracks and chipping even with minor impacts. Conversely, low hardness makes them easily scratched by keys and tableware, resulting in poor durability for everyday use. High-quality epoxy tabletops balance hardness and toughness, resisting everyday scratches and withstanding minor impacts, making them less prone to cracking and breakage. They are suitable for high-frequency use scenarios such as dining tables, desks, and coffee tables.

Finally, their self-leveling and defoaming properties make them extremely user-friendly for beginners. DIY tabletops are mostly constructed by hand. A good self-leveling resin will automatically spread across the surface, forming a smooth, even layer, eliminating the need for repeated smoothing. A resin with excellent defoaming properties will not leave behind numerous tiny air bubbles during application, preventing an unsightly, uneven surface after curing and saving the hassle of extensive sanding and rework.

Choices for different desktop scenarios

There is no absolutely “best” epoxy resin, only the style best suited to your desktop. Choosing the right epoxy resin based on the intended use of your desktop will achieve the desired effect.

For ordinary solid wood desktops or renovating old tables, where durability, waterproofing, and cost-effectiveness are key, a general-purpose high-transparency desktop epoxy resin is sufficient. This type of resin has moderate viscosity, achieves the required hardness after curing, and is waterproof and oil-resistant. Daily spills like tea and soup can be easily wiped clean. It’s suitable for desks, sideboards, and ordinary coffee tables. It’s easy to apply, even for beginners, and is affordable, so you won’t feel bad about using it on large areas.

For creating trendy river-themed tables or multi-panel solid wood tables, where ultimate transparency and deep casting are desired, a high-transparency deep-cast epoxy resin is essential. This type of resin boasts maximum transparency, perfectly showcasing wood grain, pebbles, dried flowers, and other inlaid decorations to create a dynamic river effect. It also supports thick-layer casting without collapsing or cracking. After curing, it has a transparent and high-end texture, resulting in a stunning desktop. It’s perfect for desktops that emphasize personalized decoration.

For commercial desktops and frequently used dining tables, where durability, wear resistance, and durability are paramount, high-strength wear-resistant epoxy resin is the preferred choice. This type of resin contains wear-resistant components, resulting in higher hardness, scratch and impact resistance. Even with frequent placement of tableware and movement of items, it is less prone to scratches, has a longer lifespan, and is suitable for high-intensity use scenarios such as restaurant dining tables and office desks.

Conclusion

In general, there’s no single “best” epoxy resin for desktops; it’s all about finding the one that best suits your needs. Purchase products with the appropriate characteristics based on your intended use, focus on key properties, and master the correct application methods to easily create a beautiful and durable epoxy desktop. Finally, Jinghua has been researching and developing desktop epoxy resins for 20 years. If you need related products, please contact us; we can provide you with the most cost-effective solutions.

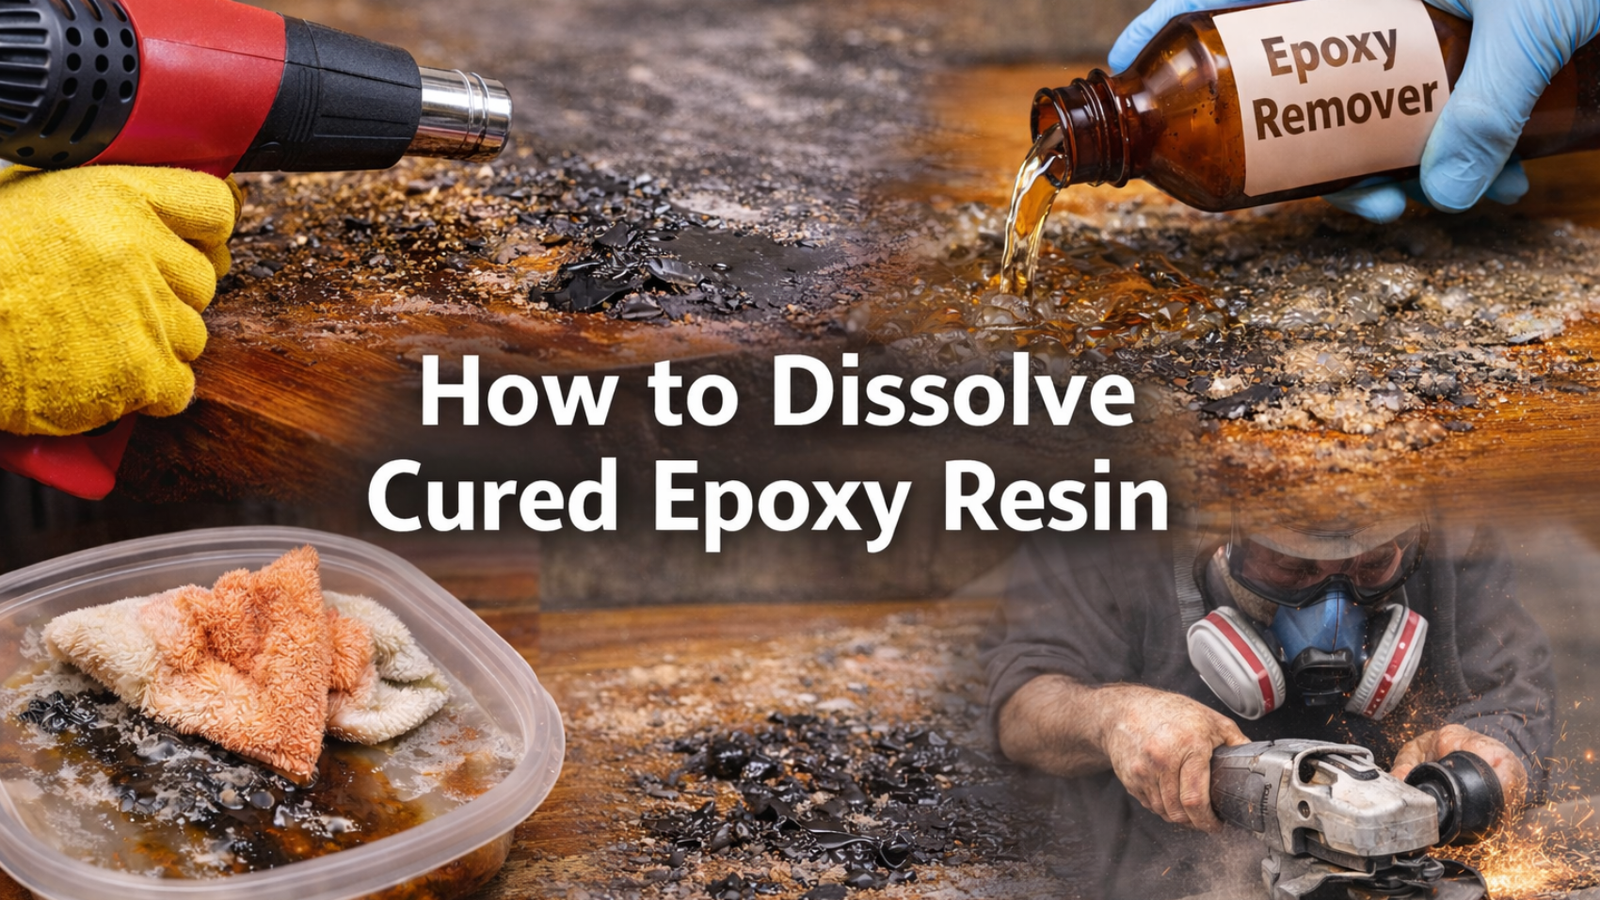
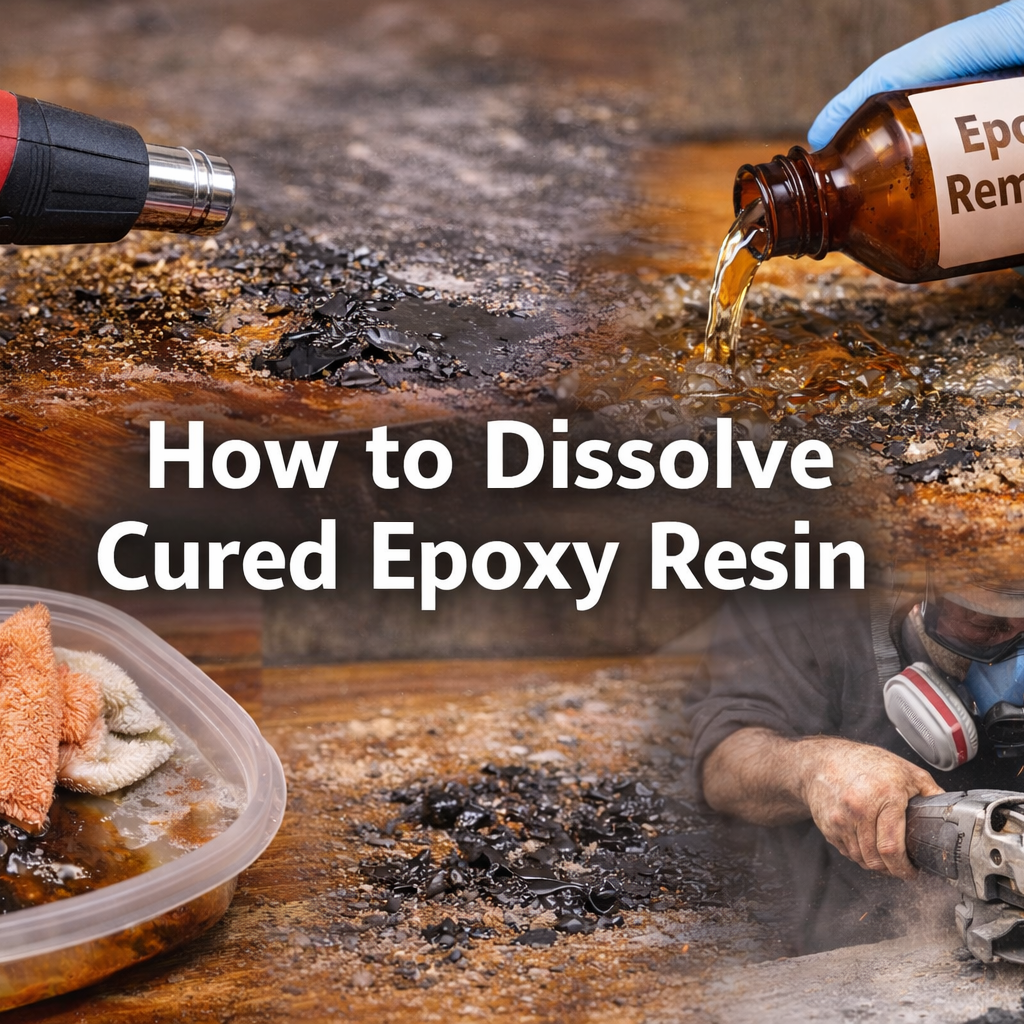
How to Dissolve Cured Epoxy Resin?

How to Dissolve Cured Epoxy Resin?

Epoxy resins are a class of thermosetting materials characterized by epoxy groups. They exhibit good fluidity and adhesion during processing, and after film formation, they rapidly form a three-dimensional network structure through chemical reactions with curing agents, thereby transforming into thermosetting materials with high strength, heat resistance, chemical resistance, and excellent electrical insulation. They are widely used in construction, woodworking, flooring, marine, and craft manufacturing.

However, in certain cases, it is necessary to dissolve cured epoxy resin for repair or replacement. Below, Jinghua introduces several common methods to help those in need.

1.Thermal Dissolution

    Heating is one of the most effective ways to weaken cured epoxy resin. At high temperatures, the structure softens and strength decreases, making it easier to scrape off.Tools such as flame guns, heat guns, or torches can be used. Note that the melting point of epoxy adhesives is typically above 100°C (some may be higher), so ensure sufficient heating temperature. Use caution—excessive heat may damage the substrate, especially wood, plastic, or painted surfaces. Keep the heat gun moving continuously to avoid prolonged concentrated heating on one spot. Suitable for epoxy coatings, adhesive residues, or thin cured resin layers.

    2.Physical Removal

    Physical removal is a direct and robust method for epoxy elimination, using tools like scrapers, brushes, sandpaper, and angle grinders for mechanical stripping. Ideal for epoxy flooring where substrate damage is acceptable, offering fast removal. Do not use on delicate items.

    3.Solvent DissolutionSolvents are used to dissolve (or slightly soften) cured epoxy for easy removal. Common solvents include acetone, ethyl acetate, methanol, etc. Apply the solvent to the epoxy, allow penetration and dissolution, then wipe clean with a scraper or cloth. Suitable for semi-cured epoxy or thin resin layers.

    4.Chemical DissolutionMost common solvents cannot fully dissolve cured epoxy, but specific chemicals can break down its structure or soften it to a removable state. Typical options include methylene chloride (dichloromethane), acetone/toluene/xylene blends, etc. Apply the chemical to the epoxy, allow penetration to weaken the polymer network. After soaking, the softened epoxy can be scraped off. Suitable for removing epoxy coatings from concrete floors, tools, and various surfaces.

    Safety Note: Chemicals pose hazards. Always use proper protection: work in well-ventilated areas, wear gloves, and avoid skin contact. Commercial epoxy removers are available—slightly less potent than industrial chemicals but generally safer and more convenient.

    How to Choose the Right Removal Method?

    Different scenarios and substrates require different approaches. Below is a summary of common substrate treatments for epoxy removal:

    ScenarioPreferred MethodCombined Procedure
    Electronic Components / PCB ReworkSpecialized Dissolver + HeatingSoak / Degreaser → Heat Soften → Pick / Scrape
    Metal Molds / WorkpiecesChemical Soaking + Heat GunSoak to Swell → Heat Soften → Scraper Cleanup
    Large-Area Thick EpoxyPyrolysis + Mechanical GrindingHigh-Temp Heat → Shatter → Grind
    Plastic / Heat-Sensitive SubstratesLow-Temp Thermal Shock + Mechanical PeelingDry Ice Cooling → Embrittlement → Tap & Peel
    Thin Coatings / ResiduesSolvent Soak/Wipe + SandpaperSolvent Wipe → Fine Sandpaper Polish
    how to pour epoxy more than 2 inches deep?​

    how to pour epoxy more than 2 inches deep?​

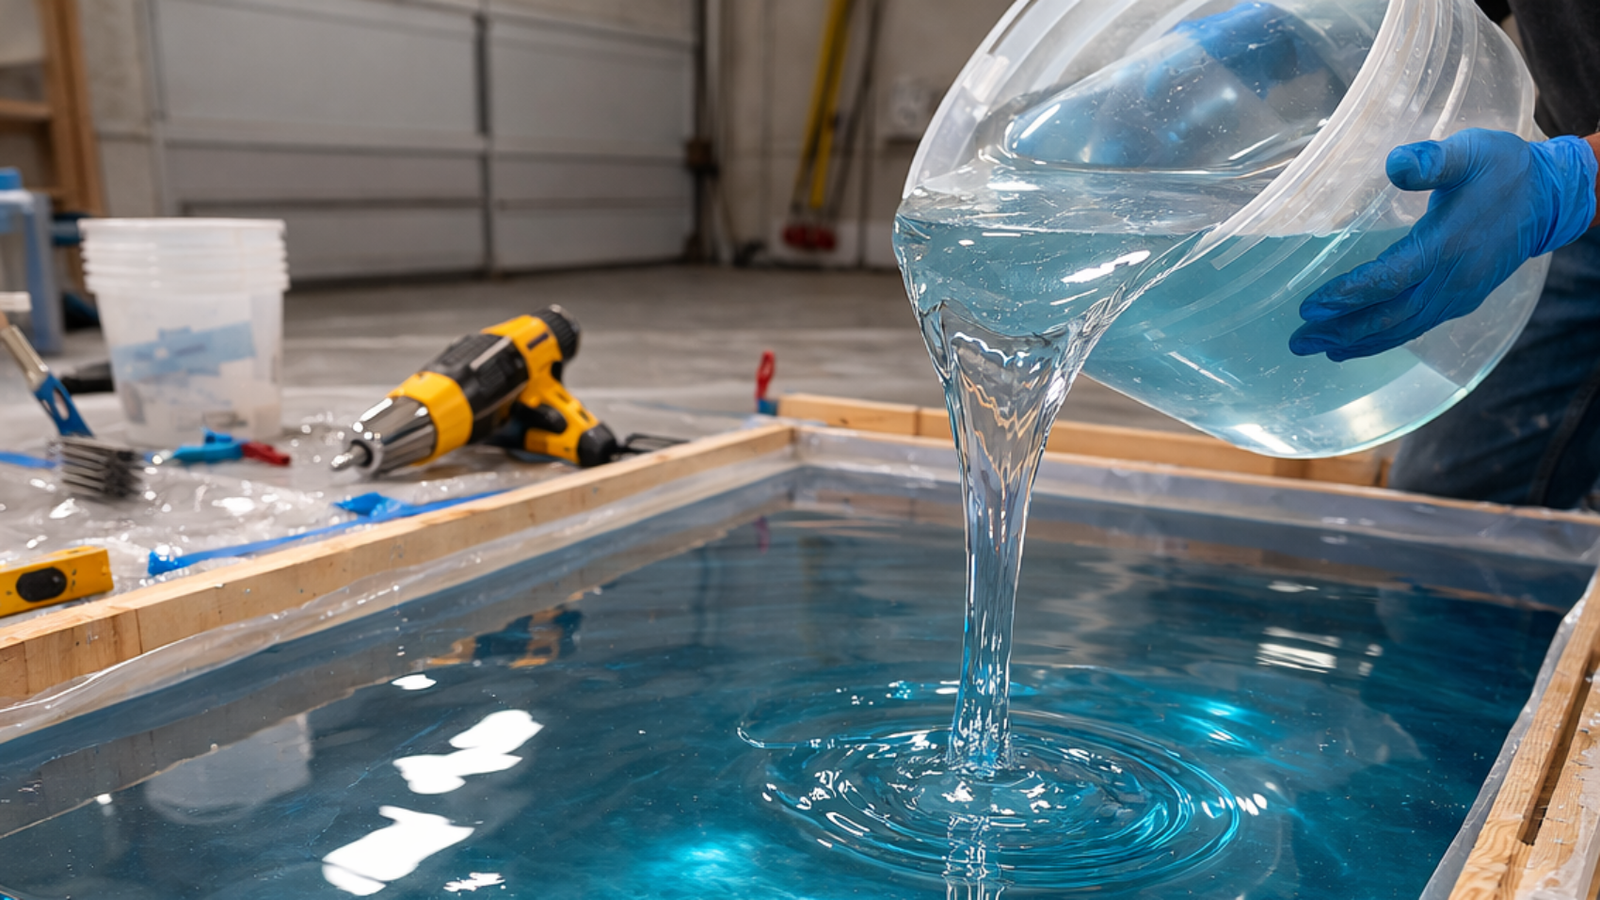
    In the field of epoxy resin applications, deep pour technology has become increasingly popular, especially in projects such as river tables, art ornaments, wood encapsulation, industrial molds, and decorative structural parts. When the pouring thickness exceeds 2 inches (approximately 5 cm), the requirements for material properties, construction environment, and operating skills will increase significantly. Improper operation can easily lead to problems such as overheating, bubbles, cracking, or uneven curing. Therefore, mastering the correct method for thick-layer pouring is a very important matter. This article will detail how to safely and efficiently deep pour epoxy resin with a thickness exceeding 2 inches.

    Ec97ab46 Be1a 400d B9eb 22cc4fa763a7

    1. Choosing the Right Deep Pour Epoxy Resin

    Not all epoxy resins are suitable for deep pouring. For example, standard tabletop epoxy is typically only designed for thin coatings of 3–10 mm. Direct deep pouring will cause the resin to generate excessive heat during curing, resulting in rapid temperature rise and even cracking.

    For projects larger than 2 inches, we should prioritize deep-cast epoxy resin. Features of this resin include:

    Low exothermic reaction: generates less heat lduring curing

    Long pot life: facilitates application and bubble removal

    High clarity: ideal for artistic and decorative projects

    Superior anti-cracking performance

    High-quality deep pour epoxy usually allows a single pour depth of 2–4 inches or more.

    2. Controlling the Construction Environment

    Deep pour epoxy is highly sensitive to environmental conditions; temperature and humidity directly affect the final result.

    Mold & SealingHigh-density, heat-resistant molds (such as silicone, wood, etc.) are used.. Seal joints with heat-resistant sealant to prevent leakage. A mold release agent can be sprayed on the inner wall for easier demolding.

    Environmental ControlMaintain an ambient temperature of 20–25°C and humidity below 65%. Low temperatures slow curing and trap internal bubbles; high temperatures intensify exotherm, causing yellowing and cracking.

    Substrate PreparationPorous substrates such as wood and stone must first be sealed with a primer to prevent outgassing and pinholes. For substrates such as metal and glass, the surface needs to be degreased, cleaned of stains, and lightly sanded to increase the friction between the epoxy resin and the substrate.

    3. Properly Mixing the Epoxy Resin

    Epoxy resin generally consists of Part A (resin) and Part B (hardener), with mixing ratios varying by product (e.g., 2:1, 3:1, or 1:1).

    Mixing guidelines:

    Measure strictly by volume or weight ratio

    Stir slowly for 3–5 minutes

    Scrape the edges and bottom of the container

    When mixing the resin, it is recommended to use the “two-stage mixing method”: first mix it once in a container, then pour it into a clean container and mix it again to ensure thorough mixing.

    Degassing & Resting: Allow the mixture to rest for 5–10 minutes after stirring to let bubbles rise naturally. Vacuum degassing is optional and greatly improves clarity.

    4. Pouring Process: Layering & Temperature Control Are Key

    Single-step pouring is not recommended for thicknesses over 2 inches. The safe approach is layered pouring:

    First Layer: Pour 1–2 inches, slowly injecting along the edge to avoid bubble formation from impact.

    Surface Bubble Removal: Fifteen minutes after pouring, use a hot air gun to sweep across the surface at a uniform speed to eliminate air bubbles. It’s important to note that the hot air gun should be kept at least 15 cm away from the surface to prevent localized overheating and cracking.

    Layer Interval: After the first layer reaches initial cure (approx. 24 hours, tack-free), lightly sand and dust the surface before pouring the next layer. Total thickness can easily exceed 4 inches.

    Heat Dissipation: Due to concentrated exotherm during deep curing, provide ventilation around the mold to prevent excessive local temperatures.

    5. Bubble Reduction Methods

    Bubbles are common in deep pouring. They can be minimized by:

    1PreheatingBefore application, soak the epoxy resin in warm water (around 30℃) for a few minutes to reduce its viscosity, which can effectively reduce the formation of air bubbles during the application process.

    2Using a heat gun or torchGently heat the surface after pouring to quickly eliminate bubbles.

    3Vacuum or pressure equipmentFor high-end projects, use vacuum degassing or a pressure pot for further bubble reduction.

    6. Controlling the Curing Process

    Full cure time for deep pour resin is typically 48–72 hours, and some products require 5–7 days to reach maximum hardness.

    During curing:

    Do not move the mold

    Avoid direct sunlight

    Maintain stable temperature

    If a significant increase in resin temperature is observed during the pouring process, timely heat dissipation measures should be taken, such as increasing ventilation and lowering the temperature.

    Once the project is fully cured, it can be sanded and polished. If there is an outdoor requirement, a UV coating can be applied to the surface to increase its resistance to yellowing and ultraviolet radiation.

    Pouring epoxy resin over 2 inches thick is not simply increasing material volume. It requires comprehensive consideration of resin type, environmental conditions, mixing ratio, and application techniques. Only by selecting suitable deep pour epoxy, strictly controlling the construction environment, and properly using layered pouring and degassing methods can you achieve a transparent, stable, and defect-free result.

    With the continuous development of epoxy resin technology, deep pouring has become an important process in furniture making, art creation, and industrial manufacturing. With the right methods, even beginners can successfully complete high-quality deep pour epoxy projects.

    How Long Does Epoxy Resin for Countertops Take to Dry?

    How Long Does Epoxy Resin for Countertops Take to Dry?

    Epoxy resin is widely used in the production of wooden table tops, bar counters, artistic countertops, and river tables due to its high transparency, excellent hardness, and good chemical resistance. When using epoxy resin to make countertops, one of the most common concerns is: How long does epoxy resin for countertops take to dry?

    In fact, the drying time of epoxy resin is not fixed; it is affected by various factors such as product formulation (fast-curing, slow-curing), pouring thickness, and ambient temperature.

    A13594c4 2fde 4d45 9b1c 59f86477cabd

    1. Basic Curing Time of Countertop Epoxy Resin

    The curing process of countertop epoxy resin can be divided into three stages: tack-free time, initial curing time, and full curing time.

    • Tack-free time: For most tabletop epoxy resins, the surface gradually dries in about 6–12 hours after pouring. At this point, the surface is no longer sticky, but the interior remains semi-cured. The resin is still soft and cannot be sanded or loaded.
    • Initial curing time: Usually around 24 hours, the epoxy resin is mostly cured. The countertop can be lightly touched or moved gently, but heavy objects or rough handling are still not recommended.
    • Full curing time: It generally takes 48–72 hours for the resin to reach high hardness and stability. Some high-performance countertop resins even require 5–7 days to achieve optimal mechanical properties.Therefore, it is best to wait at least 3 full days before sanding, polishing, or officially using the countertop.

    2. Main Factors Affecting Epoxy Resin Drying Time

    Although suppliers usually provide a reference curing time, the actual drying speed is influenced by many factors.

    (1) Ambient Temperature

    Temperature is one of the most important factors affecting epoxy curing speed.

    • The ideal curing temperature range is 20°C–25°C.
    • Below 15°C, curing slows significantly and may result in incomplete curing.
    • Higher temperatures accelerate curing but may increase bubbles or surface ripples.

    (2) Pouring Thickness

    Countertop epoxy is usually designed for medium-to-shallow pours, with a single layer of 2–5 mm.

    Excessively thick layers generate more internal heat, altering curing speed and possibly causing cracking. Thick countertops therefore require layered pouring, with each layer fully cured before the next.

    (3) Ambient Humidity

    • When humidity exceeds 70%, moisture in the air causes fogging, pinholes, and slower curing.
    • Very low humidity does not delay drying but increases the risk of cracking.It is recommended to work on sunny days with good ventilation. On rainy days, use a dehumidifier to maintain humidity at 50%–60%.

    3. How to Speed Up Countertop Epoxy Drying

    You can use simple methods to accelerate curing:

    Maintain a suitable indoor temperature of around 22°C–25°C to greatly improve efficiency. Use heaters if needed, but do not use high-temperature devices for close-range baking, as uneven heating causes bubbles and deformation.

    Mix resin and hardener strictly by ratio and stir thoroughly. Incomplete mixing leads to partial under-curing and longer overall drying time.

    Avoid pouring too thickly. For a thick countertop, pour in multiple layers, keeping each within the recommended thickness.

    Keep the environment stable after application: avoid dust, vibration, and extreme temperature changes to ensure even curing.

    4. How to Tell If Epoxy Resin Is Fully Dry

    Surface dryness does not equal full curing. Use these methods to check:

    • Touch test: Surface is hard and non-sticky.
    • Nail test: No indentation when gently pressed with a fingernail.
    • Odor test: Resin odor is greatly reduced.
    • Time test: Waiting more than 72 hours is the safest practice.

    5. Summary

    In general:

    • Countertop epoxy resin is tack-free in 6–12 hours
    • Initially cured in 24 hours
    • Nearly fully cured in 48–72 hours

    Exact time varies with temperature, humidity, and pouring thickness.

    For best results, apply epoxy in suitable conditions and wait for full curing before finishing or use. Only fully cured resin guarantees durability and appearance, creating a long-lasting epoxy countertop.

    What Are the Differences Between Epoxy Resin and UV Resin?

    What Are the Differences Between Epoxy Resin and UV Resin?

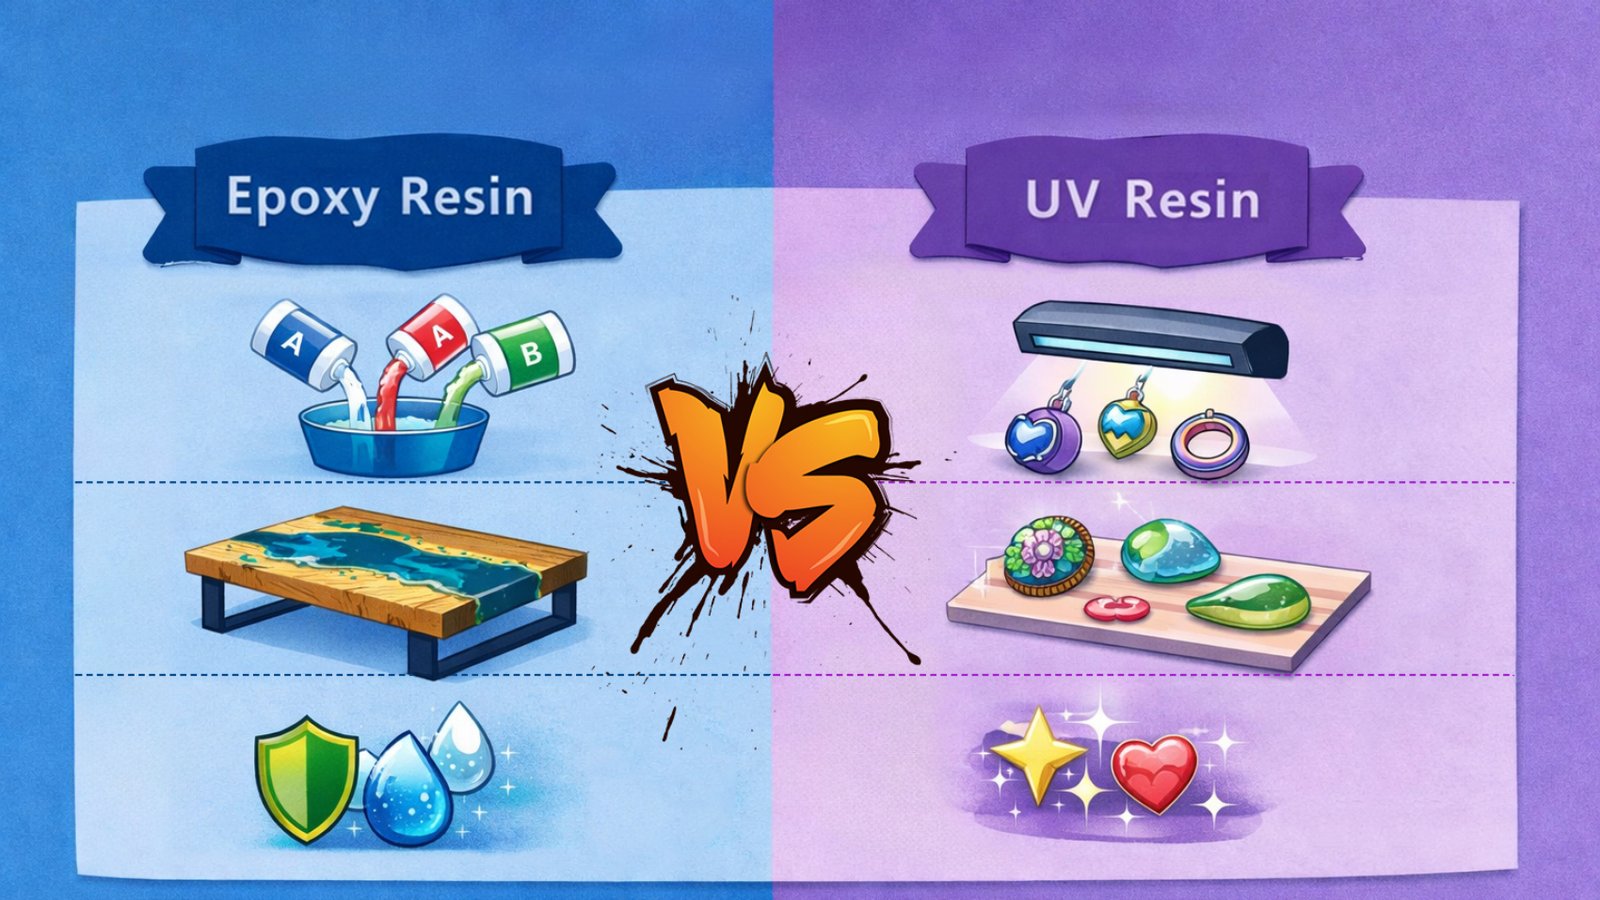
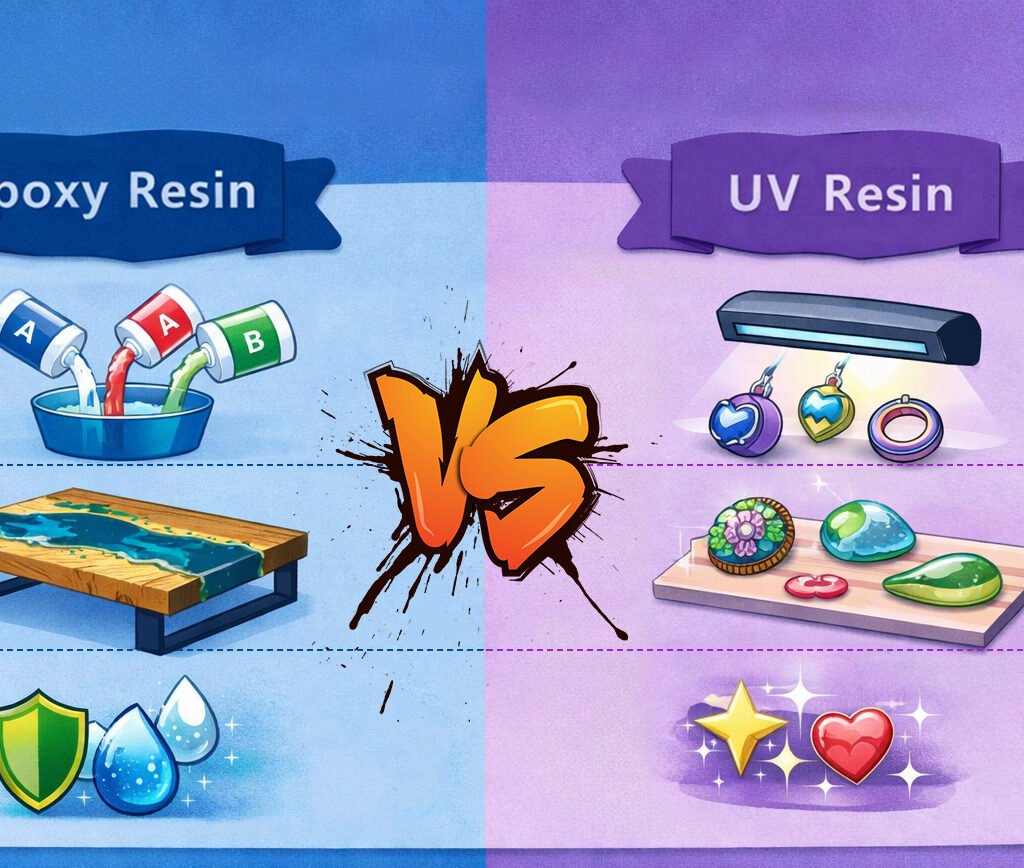
    In the application of resin materials, epoxy resin and UV resin are two very common types. They are widely used in various fields such as crafts making, jewelry processing, coating protection, and industrial manufacturing. Although both are resin materials that can cure to form a hard and transparent surface, they differ significantly in curing method, performance characteristics, and applicable scenarios. Understanding their differences helps select the more suitable material for practical applications.

    1(5)

    First, the most obvious difference lies in their curing mechanisms.Epoxy resin usually uses a two-component system consisting of Part A resin and Part B hardener. They must be mixed in a fixed ratio before use. A chemical reaction occurs after mixing, leading to gradual cross-linking and curing. This process often takes several hours or longer to fully harden.UV resin is a single-component material that requires no additional hardener. It cures rapidly under UV light or sunlight, belonging to the photo-curing system. Normally, UV resin fully cures within a few minutes under UV irradiation, greatly improving work efficiency.

    Second, there is a clear difference in applicable thickness.Epoxy resin allows thick casting. Especially dedicated deep-pour epoxy resin can be cast to a thickness of several centimeters or more in one go, making it ideal for river tables, thick decorative parts, and large crafts.Due to the limited penetration of UV light, UV resin is only suitable for thin-layer coating or small products, with a single layer usually within a few millimeters. Over-thick casting will prevent UV light from fully penetrating, resulting in incomplete internal curing.

    Third, the hardness and overall performance are also different.Epoxy resin generally has high strength, good wear resistance, and excellent adhesion, so it is often used in industrial fields such as floor coatings, structural adhesives, and composite materials. It also offers good water resistance and chemical corrosion resistance.In contrast, although UV resin has a high surface gloss after curing, its overall strength and durability are usually lower than epoxy resin. Therefore, it is mostly used for surface coatings of jewelry, models, or small decorative parts.

    Fourth, they differ in ease of operation.Epoxy resin requires accurate ratio control of Part A and Part B, as well as thorough mixing. Otherwise, problems such as incomplete curing or sticky surfaces may occur. In addition, bubbles are easily generated during curing, so degassing is sometimes necessary.UV resin is relatively simple to use: no mixing or ratio matching is needed. It can be used directly and cured under UV light, which is why many hobbyists prefer it.

    Furthermore, the two resins also differ in transparency and surface finish.High-quality epoxy resin achieves extremely clear transparency after full curing, suitable for large transparent decorative parts or artworks.UV resin typically produces a very glossy surface. With fast curing, it quickly forms a mirror-like finish, making it perfect for jewelry sealing or surface protection.

    Overall, epoxy resin and UV resin each have their own advantages and suitable applications.Epoxy resin is usually a better choice for thick casting, large decorative parts, or industrial applications.UV resin is more convenient and efficient for fast curing, small jewelry, or thin-layer coating.Choosing the right resin based on specific needs will achieve the most satisfactory results.

    Uv Resin

    How long does it take for UV resin to cure?

    UV resin (ultraviolet-curing resin) is widely used in handmade jewelry, electronic encapsulation, 3D printing, coating protection and other fields due to its fast curing speed, easy operation and high transparency. Its curing time is a question frequently asked by many beginners. In fact, there is no absolute uniform answer, as the curing time of UV resin is affected by various factors including light source type, resin thickness and formulation characteristics. The curing process can be generally divided into two stages: initial curing and full curing.

    Uv Resin

    1. General Curing Time Range

    Under ideal conditions, UV resin usually completes surface curing within 30 seconds to 3 minutes. When using a professional UV lamp (such as a 36W or 48W LED UV lamp), thin-layer resin can often be fully hardened in about 60 seconds. Compared with traditional epoxy resin, which takes hours or even 24 hours to cure, UV resin has a significant efficiency advantage in curing.

    However, it should be noted that surface drying and full curing of UV resin are two different concepts. A non-sticky surface does not mean the interior has been fully cured. For thicker coatings, multiple exposures may be required to ensure complete hardening inside.

    2. Key Factors Affecting Curing Time

    (1) Light Source

    UV resin is sensitive to ultraviolet light of specific wavelengths (usually 365nm or 395nm). If the lamp wavelength does not match, the curing speed will be significantly slower. Generally, higher power and stronger light intensity result in shorter curing time. For example:

    • 6W small nail lamp: approx. 2–4 minutes
    • Professional lamp above 36W: approx. 30–90 seconds
    • Natural sunlight (strong sunlight): thin coatings can be fully cured in 3–5 minutes; under weak light such as cloudy days, it takes 30–60 minutes, and the curing effect is unstable and easily affected by weather.

    Therefore, choosing a suitable light source is crucial.

    (2) Casting Thickness

    UV light has a certain penetration limit. It is generally recommended to control the single-layer thickness between 1–3 mm. If poured too thick at one time, the surface may harden while the interior remains soft, reducing final strength and transparency. For thick products, layer-by-layer curing is recommended: cure each layer before applying the next.

    (3) Different UV Resin Formulations

    UV resins from different manufacturers have different proportions of active ingredients and photoinitiators, which affect curing speed. Some high-transparency, high-hardness formulas have a slightly longer curing time, while fast-drying products are more suitable for making small jewelry.

    (4) Environmental Factors

    Although UV resin mainly relies on light for curing, ambient temperature also affects the reaction rate. Curing may be slightly slower at low temperatures. Operation at 20–30°C is recommended for best results.

    The distance between the light source and the resin is also important. The recommended lamp distance is 3–5 cm. Too great a distance reduces UV energy and prolongs curing time; too close a distance may cause substrate deformation or resin yellowing due to high temperature.

    3. How to Judge Full Curing?

    Initial curing (non-sticky surface) ≠ full curing. Only after full curing will the resin reach optimal hardness, scratch resistance and adhesion. Some resins require standing for 1–2 hours after full curing to further stabilize performance. If the resin remains sticky after curing, it is usually caused by mismatched wavelength, insufficient energy or oxygen inhibition.

    You can judge whether UV resin is fully cured by the following methods:

    • The surface is smooth and non-sticky
    • No marks left when gently pressed with a fingernail
    • The edges are not soft
    • No obvious residual odor

    If the interior is still soft, flip it and expose for another 1–2 minutes to ensure full curing.

    4. How to Lengthen or Shorten Curing Time

    To speed up curing:

    • Use a higher-power UV lamp
    • Reduce single-layer thickness
    • Keep the lamp-resin distance at 3–5 cm

    If curing is too fast and causes an uneven surface, you can properly lower the power or use intermittent exposure for better leveling.

    5. Summary

    Overall, the curing time of UV resin is usually between 30 seconds and 3 minutes, depending on lamp power, resin thickness, product formula and environmental conditions. Ideal curing results can be achieved by mastering proper light source matching and layered operation techniques.For handmade creators and small-batch production users, the fast-curing advantage of UV resin greatly improves work efficiency. However, while pursuing speed, full curing must be ensured to guarantee the hardness, transparency and durability of the finished product.