Color mixing is an extremely crucial process when using deep pour epoxy resin for creating large artworks, river tables and other pieces. It requires a balanced consideration of color uniformity, curing stability and visual effects. Due to the fluidity, bubble release characteristics of deep-pour epoxy resin, as well as the amplifying effect of its thickness on color presentation, the color mixing process differs significantly from that for surface coating. Below are some of Jinhua’s experiences in color mixing for deep-pour epoxy resin, provided for your reference.
1.Pigment Selection and Compatibility Testing
The chemical properties of deep-pour epoxy resin are sensitive, making pigment selection a critical step that directly impacts the curing performance. It is therefore essential to avoid non-specialized pigments in the first place and select the suitable pigment type according to specific requirements.
(1) Recommended Pigment Types and Their Applicable Scenarios
Specialized liquid resin dyes: Best suited for deep pouring, with excellent solubility that enables complete fusion with resin, delivering a uniformly transparent or translucent hue without any graininess. Ideal for creating gradient and transparent effects (e.g., simulating water bodies or amber textures). A single drop can color 20–100g of resin (standards vary by product; refer to the product instructions), offering easy dosage control and minimal impact on curing.
Mica powder pigments: Powder-form with natural mineral ingredients, they create pearlescent, metallic luster or a delicate frosted texture, ideal for crafting deep-pour artworks in retro and gorgeous styles (e.g., resin river tables, decorative ornaments). Note to disperse in advance to prevent clumping.
Specialized epoxy resin pastes/color gels: High in concentration and hiding power, they are suitable for projects requiring solid, opaque effects, such as custom color blocks and embedment encapsulation. Strictly control the dosage to avoid compromising the resin’s fluidity.
Alcohol inks: Ideal for creating artistic textures like marble and cell patterns, with vivid colors and excellent spreadability. For accent use only; excessive amounts will damage the resin curing system, leading to a tacky surface or cracking.
(2)Prohibited Pigments
Non-specialized colorants such as food colorings, regular nail polishes and low-cost craft pigments can easily cause incomplete curing of the resin (resulting in a tacky or soft finish), color bleeding or excessive bubbling, which completely ruins the effect of deep pouring. In addition, any colorants containing water or oil must be avoided entirely to prevent curing failures.
(3)Compatibility Testing
Regardless of the pigment used, a small-batch test must be conducted before official color mixing: Take 50–100g of resin (before mixing components A and B in the specified ratio), add the planned dosage of pigment, stir thoroughly and pour into a small mold. Observe the curing condition for 24–48 hours. Proceed with mass mixing only after confirming no abnormalities and that the color meets expectations. This step is mandatory especially when using a new brand of pigment or resin for the first time.
2、Standard Color Mixing Operation Procedure
Color mixing for deep-pour epoxy resin shall follow the principles of “Disperse First, Mix Later, Control Dosage, Prevent Bubbles”, with the procedures as follows:
(1) Preparations
Set up a clean, well-ventilated and constant-temperature workbench (20–25℃) to prevent dust contamination. Prepare dry mixing containers, stirring rods (silicone rods are recommended for easy cleaning and reduced bubble formation), measuring cups, pigment tools and test molds. Bring the deep-pour epoxy resin to room temperature in advance to ensure stable fluidity.
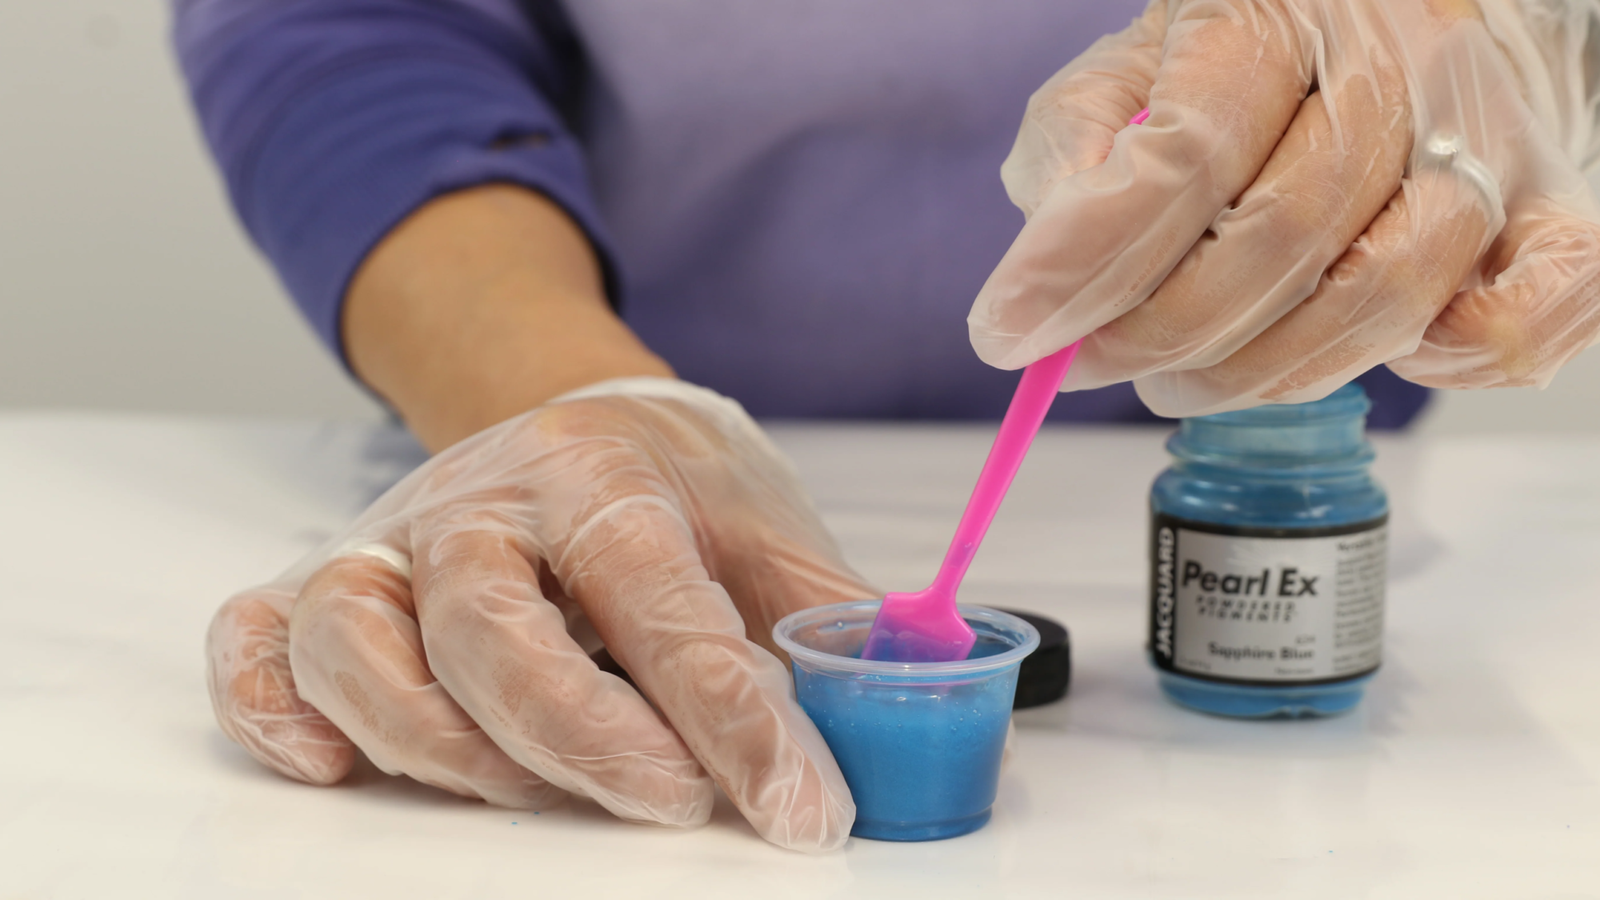
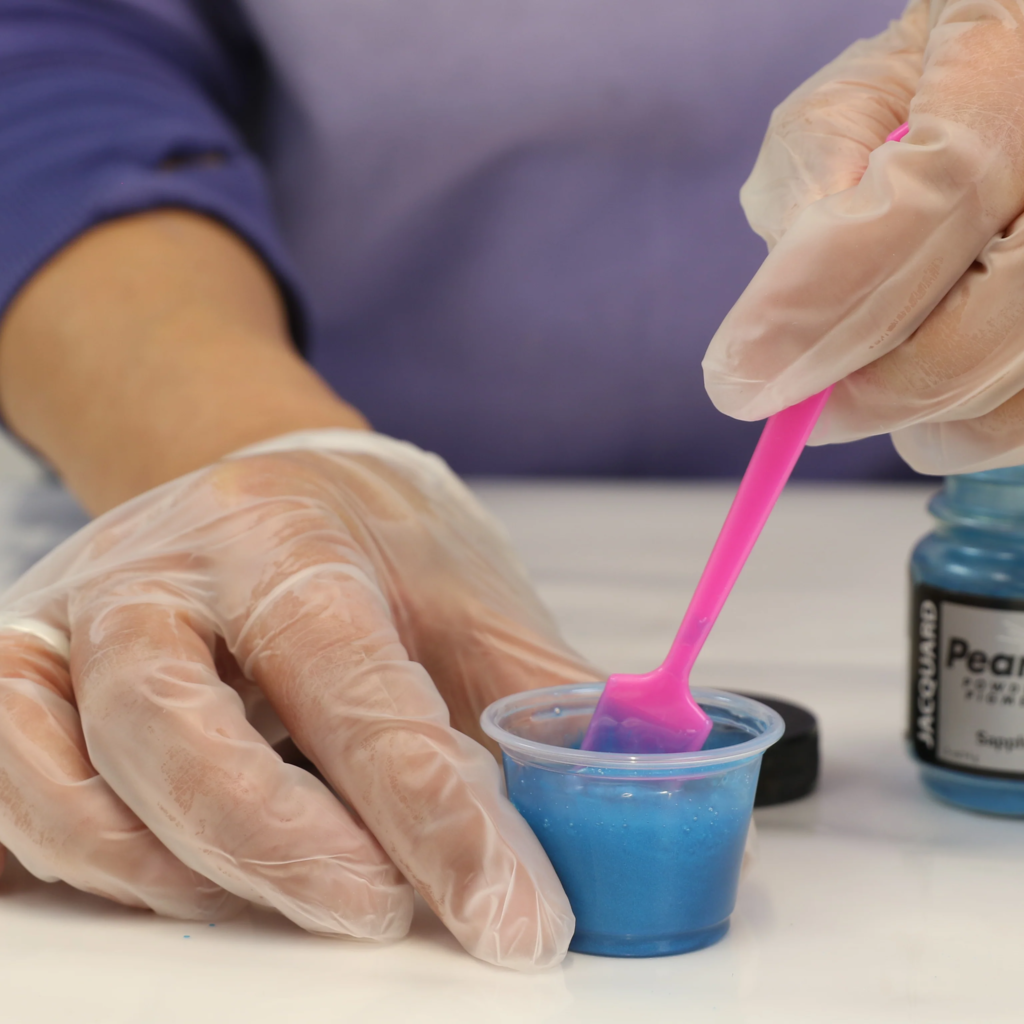
(2)Pigment Pre-dispersion (Critical Step)
For powder pigments (e.g., mica powder), first mix a small amount of Resin Part A (without hardener) with the pigment and stir into a uniform, particle-free slurry, then pour the slurry into the remaining Part A and stir thoroughly. This step prevents pigment clumping and avoids defects such as color spots and streaks after deep pouring. Liquid pigments can be directly added to Part A in small, separate portions without pre-dispersion, but the addition must be done dropwise and slowly.
(3)Resin Mixing & Color Tuning
Accurately weigh Resin Parts A and B in accordance with the ratio specified in the resin manual (usually 2:1 or 1:1 by volume). First, stir Part A with the pre-dispersed pigment thoroughly to ensure uniform color throughout (stir slowly in a circular motion along the container wall to minimize bubble generation).
Add Part B and continue stirring for 3–5 minutes until the mixture becomes completely transparent and free of floccules. Scrape the bottom and side walls of the container repeatedly during stirring to avoid residual unmixed resin, which may cause local color unevenness or poor curing.
Color fine-tuning: Follow the principle of “small amounts, multiple additions”. Stir for 30 seconds after each pigment addition before checking the color. Since deep pouring amplifies color concentration (the color of a thick layer is 30%–50% darker than a thin layer), leave room for lighter color during fine-tuning to prevent the final color from being overly dark.
(4) Bubble Treatment & Settling
After color mixing, let the mixing container stand for 2–5 minutes to allow bubbles generated by stirring to float up naturally. Then, quickly sweep the surface with a heat gun (low temperature setting, 15–20cm away) or a butane torch to eliminate residual bubbles. Deep-pour epoxy resin has high inherent fluidity, so minor bubbles can float up on their own—avoid overheating to prevent interference with the resin’s curing reaction.
3、Key Techniques and Dosage Control
(1) Golden Rule for Dosage
The total dosage of pigments must be strictly controlled at 1%–5% of the total weight of the mixed resin (Parts A + B), with a maximum limit of 10%. Excessive pigments will disrupt the chemical balance of the resin, leading to slow curing, a tacky surface, insufficient hardness, and even shrinkage and cracking. A small amount of pigment is sufficient to achieve deep coloring—especially for liquid dyes, just 1–2 drops can create a pale color effect.
(2) Tips for Optimizing Color Effects
Transparent effect: Select liquid dyes and control the dosage at 1%–2%. Combined with transparent deep-pour epoxy resin, it can create a glass or gem-like texture, ideal for embedding specimens and metal parts.Pearlescent/metallic effect: Control the dosage of mica powder at 2%–3%, add it after pre-dispersion, and lightly sweep the surface with a heat gun after pouring to enhance the layered sense of luster.Artistic textures: When adding accents with alcohol inks, first pour a solid-color resin base. After the surface slightly gels, drop a small amount of ink, gently guide the texture with a toothpick, and then use a heat gun to assist in diffusion to prevent excessive ink penetration.Color calibration: The cured resin color may differ from its liquid state (usually slightly darker). Record the color comparison between liquid and cured states during the testing phase for precise control in bulk color mixing.
(3) Troubleshooting Common Issues
Color unevenness/streaks: Mostly caused by inadequate pigment dispersion or incomplete stirring. The solution is to enhance the pre-dispersion step, extend stirring time during mixing and scrape the dead corners of the container to avoid local pigment accumulation.Residual bubbles: In addition to static settling and heat defoaming, a small amount of specialized defoamer (dosage ≤ 0.5%) can be added during color mixing. However, the compatibility between the defoamer and pigments must be tested first to avoid color distortion.Color fading after curing: Choose UV-resistant pigments and avoid ordinary red and purple pigments that are prone to oxidation. If the finished product needs long-term exposure to sunlight, a UV protective coating can be applied.
4.Safety and Post-Procedure Notes
Wear gloves and a mask during color mixing and pouring to avoid direct skin contact with pigments. Meanwhile, keep the area well-ventilated to reduce inhalation of volatile fumes from resin and pigments. Pour the remaining colored resin within the working time (usually 30–40 minutes, subject to the resin instructions) to prevent operational failure due to resin thickening.
Maintain a clean and constant-temperature environment during the curing stage, and avoid vibration and extreme temperature differences. Deep-pour epoxy resin typically requires 24–72 hours for full curing. Do not touch or move the resin before complete curing to ensure stable color and a smooth surface.