


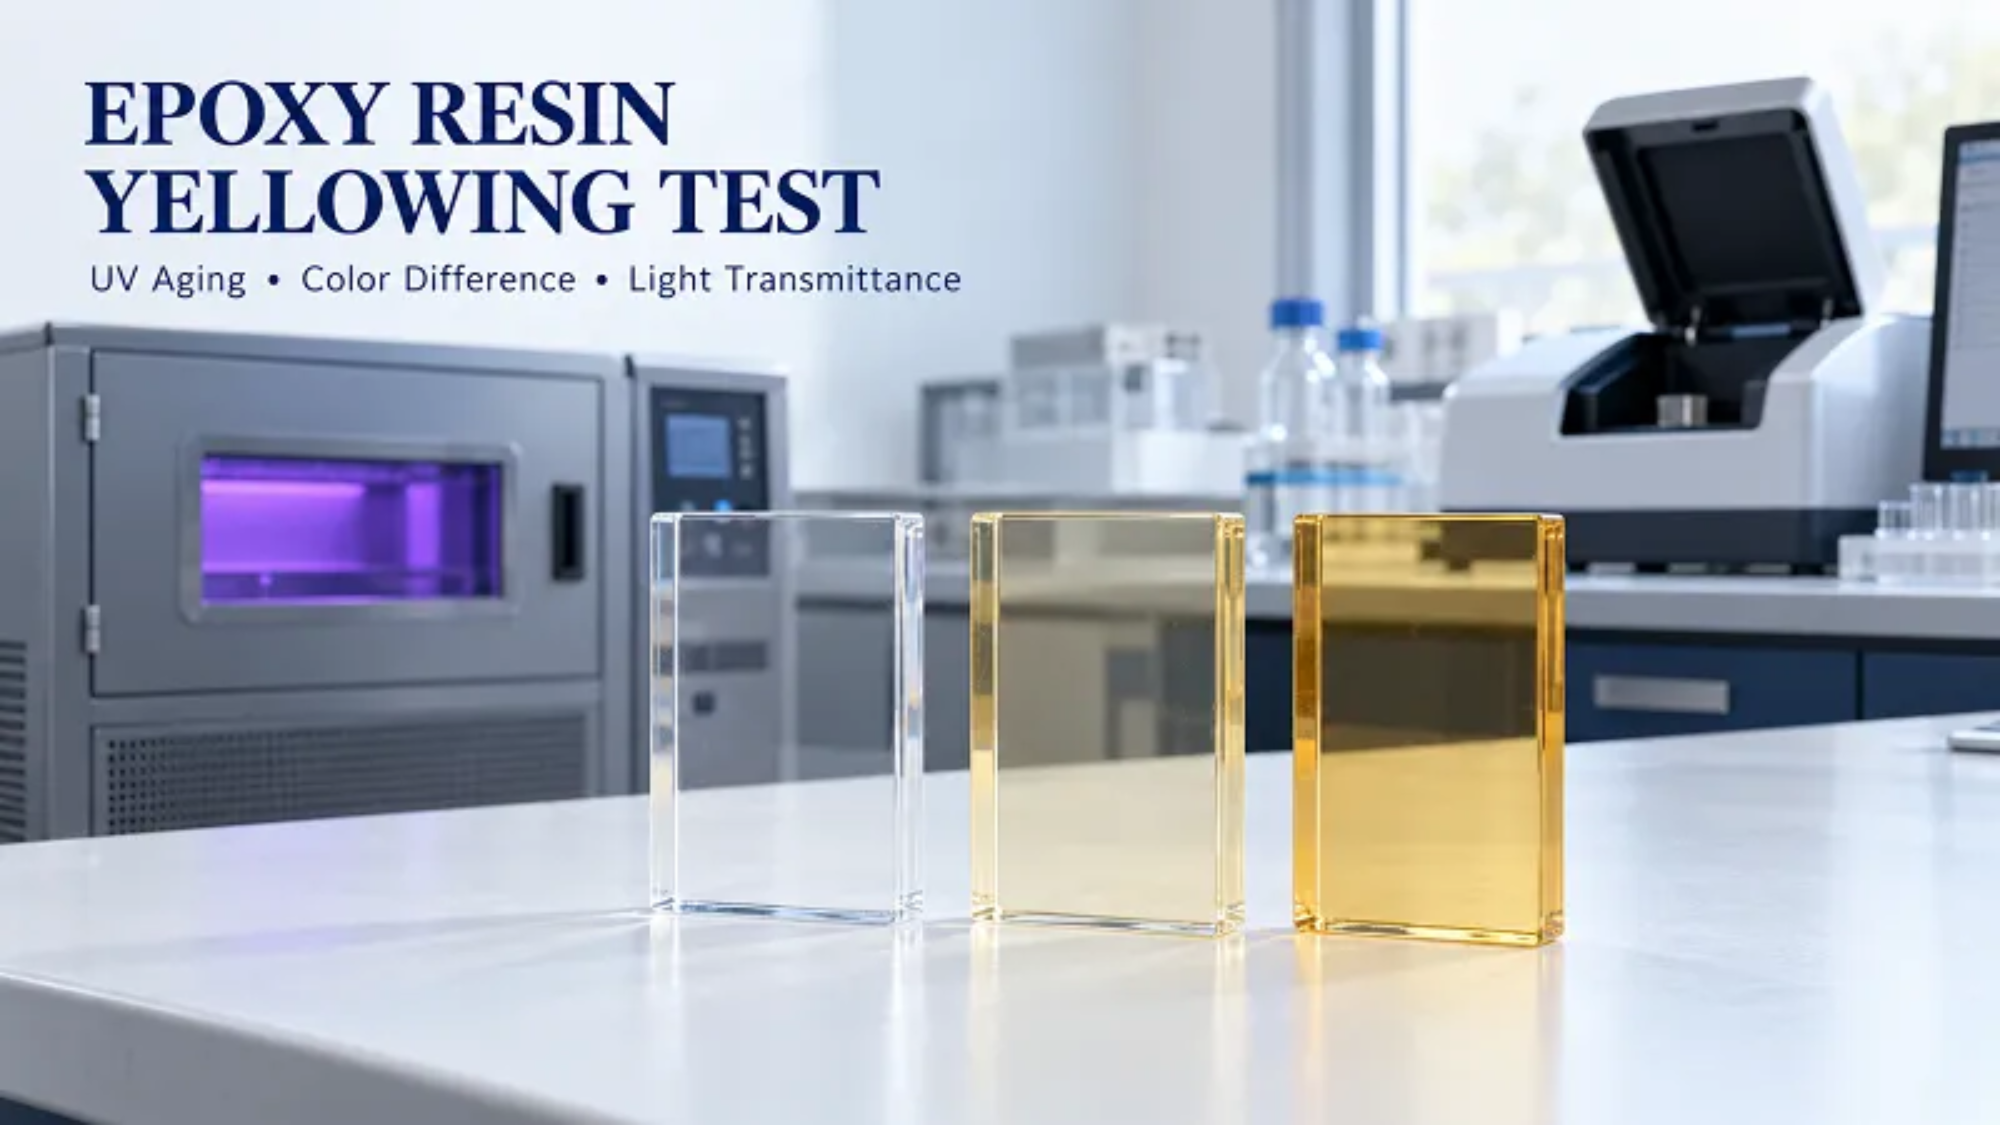
Ask a supplier whether their clear epoxy will yellow, and the usual answer is “we added UV stabilizers.” That proves nothing.
Yellowing resistance is measurable. The sample prep, the aging protocol and the way you read the numbers all follow established methods. Here is how an epoxy resin yellowing test works in a lab, step by step.
Where Yellowing Comes From
Two mechanisms cause it, and they need different tests.
Photo-oxidation. UV light breaks polymer bonds and oxidizes the nitrogen in amine hardeners, which creates color-forming groups. This is the main cause for anything near a window or outdoors. UV aging tests target it.
Thermal oxidation. Heat alone can discolor the hardener, no sunlight needed. A resin sitting under a hot lamp or in a heated enclosure can turn amber anyway.
A UV test by itself leaves half the picture blank. If the product will see heat, run a thermal aging group alongside it.
Sample Preparation: Where Most Bad Data Starts
Most unreliable results come from the samples, not the equipment.
- Match the thickness. Cast clear plaques at 3 mm (about 1/8 inch) and keep every sample in the comparison identical. A 1 mm difference shifts both transmittance and b* values enough to wreck the comparison.
- Cure fully. Let samples cure at room temperature for at least 7 days. Post-cure reactions during testing will contaminate the data.
- Keep a control. Store one plaque from each batch in the dark. Every color shift is calculated against it.
- Use the same mold surface. Different release surfaces give different finishes, and surface finish changes haze readings.
- Weigh, don’t measure by volume. Mix by weight on a scale. Measuring cups introduce ratio errors that show up as color drift.
UV Aging Setup
The standard tool is a fluorescent UV chamber (QUV), run under ASTM G154 or ISO 4892-3.
Typical settings:
- Lamps: UVA-340, which best matches the short-wave UV portion of sunlight
- Irradiance: 0.89 W/m² at 340 nm
- Cycle: 8 hours UV at 60°C (140°F), then 4 hours condensation at 50°C (122°F)
- Check points: 0, 250, 500 and 1,000 hours
For outdoor or high-transparency applications, add a xenon arc run under ISO 11341. The spectrum is broader, though the cost and test time go up.
One caution when you talk to customers: chamber hours don’t convert cleanly into years outdoors. Solar exposure varies too much by region. Treat the hours as comparison data between formulations, never as a lifespan guarantee.
Color Difference: Three Numbers That Matter
At each check point, measure L*, a* and b* with a spectrophotometer, then calculate ΔE following ASTM D2244. Yellowing shows up mainly in b*, since a rising b* means the sample is moving toward yellow. You can also calculate the Yellowness Index (YI) under ASTM E313.
| Metric | What it tells you | Rule of thumb |
|---|---|---|
| Δb* | Shift along the yellow–blue axis | Above 1, visible in side-by-side comparison |
| ΔE | Total color change | Under 1 is effectively invisible; 1–3 needs a reference to notice; above 3 is obvious |
| YI | Yellowness index | Look at the increase, not the absolute value |
A reasonable internal benchmark for tabletop and deep pour epoxy is ΔE under 3 and Δb* under 2 after 500 hours. That is a common in-house approach, not an industry-wide standard, so adjust it to the product’s positioning.
Light Transmittance and Haze
Yellowing is only part of aging. Degraded resin often develops micro-cracking or surface bloom, and clarity drops with it.
Measure transmittance and haze with a haze meter under ASTM D1003. A good clear epoxy at 3 mm typically sits around 90% transmittance when fresh. What matters is the change after aging: how many points transmittance falls and how far haze climbs.
This catches a failure mode color data misses. A sample can show a small ΔE and still have rising haze, which means the surface has started to break down.
Traps When Reading a Test Report
A single data point. A report with only the 1,000-hour result hides the trend. Some resins hold steady early and collapse late; others drift from hour one. The curve says more than the endpoint.
Missing thickness or color. Thin plaques always look better than thick castings. Data without thickness isn’t comparable.
Cross-system comparisons. Table top epoxy, deep pour epoxy and UV resin use different chemistry. Comparing their yellowing numbers against each other tells you nothing. Compare within the same product type.
No dark-stored control. Without one, you can’t separate aging-induced yellowing from a resin that started slightly yellow.
What Buyers Should Ask For
When you request a report from an epoxy resin manufacturer, ask for five things: the test standard, the lamp type, the irradiance, the sample thickness and the raw readings at each interval. A supplier that hands all five over without hesitation is probably running a disciplined process. One that can’t produce them is likely selling a marketing claim.
If you can, request samples and run your own side-by-side. Same chamber, same batch of plaques, same check points. Nothing is more convincing than data you generated yourself.
No formulation is yellow-proof forever. The light stabilizer package, the hardener system and the real-world environment all play a part. The only reliable way to know how a resin performs is to test it.