


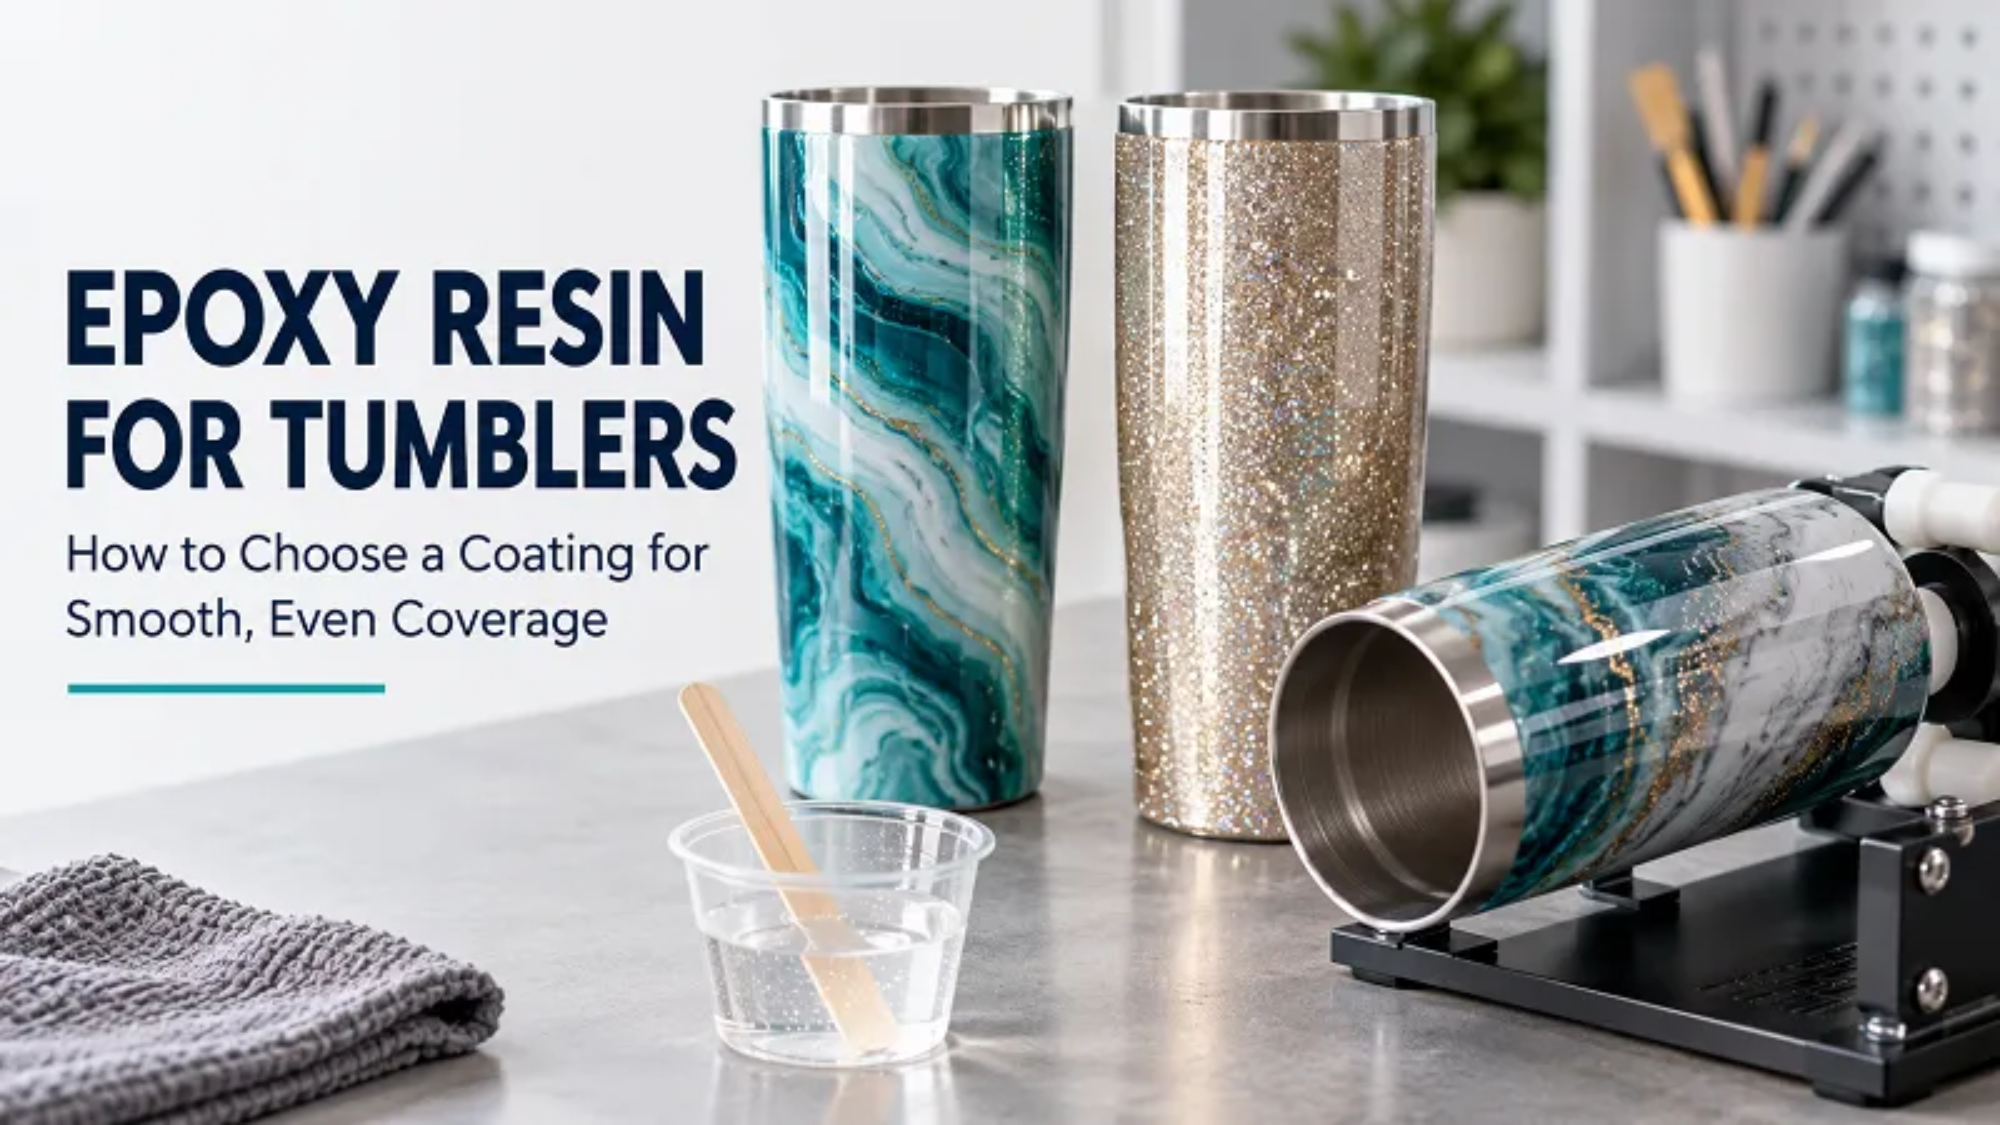
Spin a tumbler under a shop light and it looks perfect. Tilt it, and a thick ridge shows up near the base. Another cup has gorgeous glitter but a rough patch around the decal. Pouring on more resin rarely fixes either problem. The coating, the decoration, the amount you apply and the turner all have to cooperate.
Good epoxy resin for tumblers spreads across the surface you want covered, stays workable long enough to finish the cup, and cures into a film that fits how the cup will be used. A trial on your actual cup tells you more than any clarity claim on the bottle. That goes for a one-person studio and a bulk buyer alike.
Below: which properties to compare, how to control coverage, and what to check before a tumbler epoxy resin goes into regular production.
Pick a coating resin, not just a clear one
Two-part epoxy cures through a reaction between resin and hardener. On a tumbler, you want a controlled film over a prepared cup and its decoration. Filling a deep mold is a different job — the resin has to cure through a much larger mass.
So don’t grab a deep pour epoxy just because it’s clear and lets bubbles escape. Its working and curing behavior may not suit a thin film on a rotating cup. A tabletop epoxy deserves the same scrutiny: test it on a curved surface before you commit. A product’s category name is a starting point. It isn’t proof.
UV resin is a separate system altogether. Opaque glitter blocks the light it needs to cure. A UV product that works on a small, exposed detail won’t automatically coat a whole tumbler.
Viscosity: how far the resin moves and how well it stays put
Viscosity decides how a mixed resin spreads and how easily it travels while the cup turns. Very thin material wets out fast but can drift toward an edge. Thicker material holds position, but it may leave marks or fail to settle around coarse glitter.
No single viscosity is “best” for tumbler epoxy. Test the mixed resin at your real working temperature, over your real decoration. When a supplier quotes a number, ask three things: is it Part A, Part B or the mixed system, and at what temperature was it measured?
Temperature matters here too. A resin that behaves in a cool workshop may run in a warm production room. Keep resin and cups inside the supplier’s stated range. Don’t thin the mix with solvent, and don’t tweak the hardener to change flow — switch to an approved grade instead.
Working time has to match your real coating cycle
A fast-cure claim means little if the resin stiffens before you finish the cup. Your window has to cover measuring, mixing, coating, an edge check and any approved bubble treatment.
Look at how the pot-life figure was obtained. A lump of resin in a mixing cup behaves differently from a thin film on a cup. For planning, time it yourself: from the first mix to the last cup you can still coat consistently. That number is usually shorter than the datasheet figure.
Keep four stages separate — rotation time, handling time, recoat time and full cure. A cup that comes off the turner isn’t ready to pack or use. Faster grades can raise throughput, but only after you’ve verified each stage under your own conditions. [1]
Judge clarity and durability separately
Clear resin should let the design show through without haze. Compare samples over white paint, pale colors, metallic finishes and your darkest artwork. A dark cup exposes surface waviness that glitter would hide.
Clarity on day one says nothing about color stability a year later. Ask what testing backs a yellowing-resistance claim, then compare samples at equal thickness under the same light. “UV resistant” doesn’t mean the cup will never change color.
Hardness, scratch resistance and impact strength are also three different things. Glossy resin still scratches. A dropped cup can chip at the edge. Evaluate the finished, decorated cup — rim and base included — not a flat test chip.
Treat the cup and decoration as one system
Find out what the epoxy will actually touch: bare stainless steel, a factory coating, paint, sealer, vinyl, or the adhesive under the glitter. Adhesion depends on that top layer and on everything beneath it.
Follow both the blank supplier’s and the resin supplier’s prep instructions. Remove contamination, do any specified abrasion, clear the residue, and then keep skin oils and shop products off the prepared surface.
Let paints, adhesives, inks and sealers dry or cure the way their makers require. A surface that looks dry may not be ready, so confirm compatibility with a trial. Watch for decals that bleed, lift or trap bubbles under the epoxy.
Plan a clean coating edge. Keep the interior, threads, lid sealing surfaces and drinking-contact areas free of decorative coating unless the whole system has been assessed for that use. A generic statement about cured resin doesn’t replace documentation for your specific application.
Measure coverage — don’t guess from cup size
Capacity tells you how much a cup holds, not how much exterior it has. Height, circumference, taper, base shape and decoration all change how much resin you need. Two cups sold at the same fluid-ounce size can need different amounts.
For a roughly cylindrical wall, a first estimate is circumference × coated height × target wet-film thickness. Use square centimeters and centimeters, and the answer comes out in milliliters. It’s an estimating method, not a recommended film build.
Say the circumference is 25 cm and the coated height 18 cm. That’s about 450 cm² of sidewall. A hypothetical 0.2 mm wet film is 0.02 cm, which gives roughly 9 mL before the base and before losses. It’s an illustration only — the approved film thickness comes from the resin’s own instructions.
Glitter texture, taper, resin left in the mixing cup and application losses all push the real number up. Confirm by experiment and log the consumption per acceptable finished cup. If you buy by weight, convert with the supplier’s mixed-resin density. Grams and milliliters aren’t interchangeable.
Keep mixing and turning repeatable
Measure both components at the exact ratio and on the measurement basis the grade specifies. A volume ratio shouldn’t be dropped into a weighing procedure unless the manufacturer gives the equivalent. Mix thoroughly, scraping the walls and bottom, using the stated method.
Mount the tumbler firmly. It should rotate without wobble or slip, and the turner and cup should be aligned and level for the shape. Slow, continuous rotation is a common way to spread the coating evenly. [2]
Apply the amount you validated, as a controlled film. Then check the shoulder, the base transition and the decal edges — that’s where excess or thin spots hide. Resist adding more just because the wet surface looks uneven while it settles.
Keep rotating for the time you established for that material and those conditions, then cover the cup against dust while it cures. No one speed or duration suits every resin and cup, so record your own validated settings rather than copying a random tutorial.
Build coverage around the decoration
Fine glitter, coarse glitter, flat vinyl and raised embellishments each demand something different. A design that feels smooth under epoxy on one cup can leave coarse particles sticking out on another.
If you need extra coats, respect the recoat window and the prep the product requires. One heavy layer meant to bury texture tends to creep and pool at the base. Follow the approved coating sequence, and don’t treat the maximum allowed thickness as a target.
Never sand resin that hasn’t reached the right cure state. If cured resin needs leveling, follow the supplier’s abrasion and dust-removal guidance before recoating. And if a surface stays soft or tacky, find out why before covering it with another layer.
Diagnose uneven coverage before changing the formula
Fisheyes. Look at contamination and compatibility first, not viscosity. Oils, residues and some surface treatments stop resin from wetting out. Test your cleaning method on the actual paint or sealer so the fix doesn’t damage it.
Ridges and heavy ends. Check the applied amount, cup alignment, temperature and when rotation stopped.
Rough glitter. Ask whether the particles were locked down, and whether the approved coating build actually covers the texture.
Bubbles. Separate air from mixing from air trapped around decoration. Use the formulation’s approved removal method. Extra heat isn’t a universal cure — it can change flow, speed the cure or damage the decoration beneath.
Sticky streaks. Go back through your measuring and mixing records. If the whole cup cures slowly, review temperature, elapsed time and component pairing. Don’t change the resin-to-hardener ratio to force a faster result.
Qualify your tumbler resin before buying in bulk
Distributors and craft brands should ask for the current technical data sheet and safety data sheet, plus guidance for the intended cup surface. Ask about mixed viscosity, thin-film cure, recoat requirements, storage, packaging and batch identification.
Then run a small trial with your typical decorations and your hardest designs. Hold cup type, application amount, room conditions and turning setup constant while you compare candidates. Log defects and rework as carefully as you log the good-looking samples.
Compare cost per acceptable cup, not cost per kilogram. A cheaper resin gets expensive when it needs more correction, extra coats or longer turner time. Agree measurable acceptance criteria with the supplier before you scale up.
Jinhua Resin lists a tumbler resin for wholesale sourcing. When you request samples, share your cup material, decoration, target process time and packaging needs. Check the selected grade’s own documentation and performance — don’t apply another formulation’s instructions to it. [3]
Full cure and care instructions finish the product
Let the finish reach its specified full cure, under documented conditions, before anything ships. A coating that feels dry can still mark in the box if it hasn’t developed its final properties.
Give customers care instructions for the validated cup. Hand washing with a soft cloth and avoiding abrasive cleaners is the common advice for resin tumblers. Don’t promise dishwasher, microwave, long-soak or high-heat suitability without specific support. [4]
The best epoxy resin for tumblers is the one that gives you consistent coverage in your own process. Match the coating to the decorated surface, control how much you apply, and verify the cure before you run production. Those habits do more for a smooth finish than one more layer applied without knowing what went wrong.