


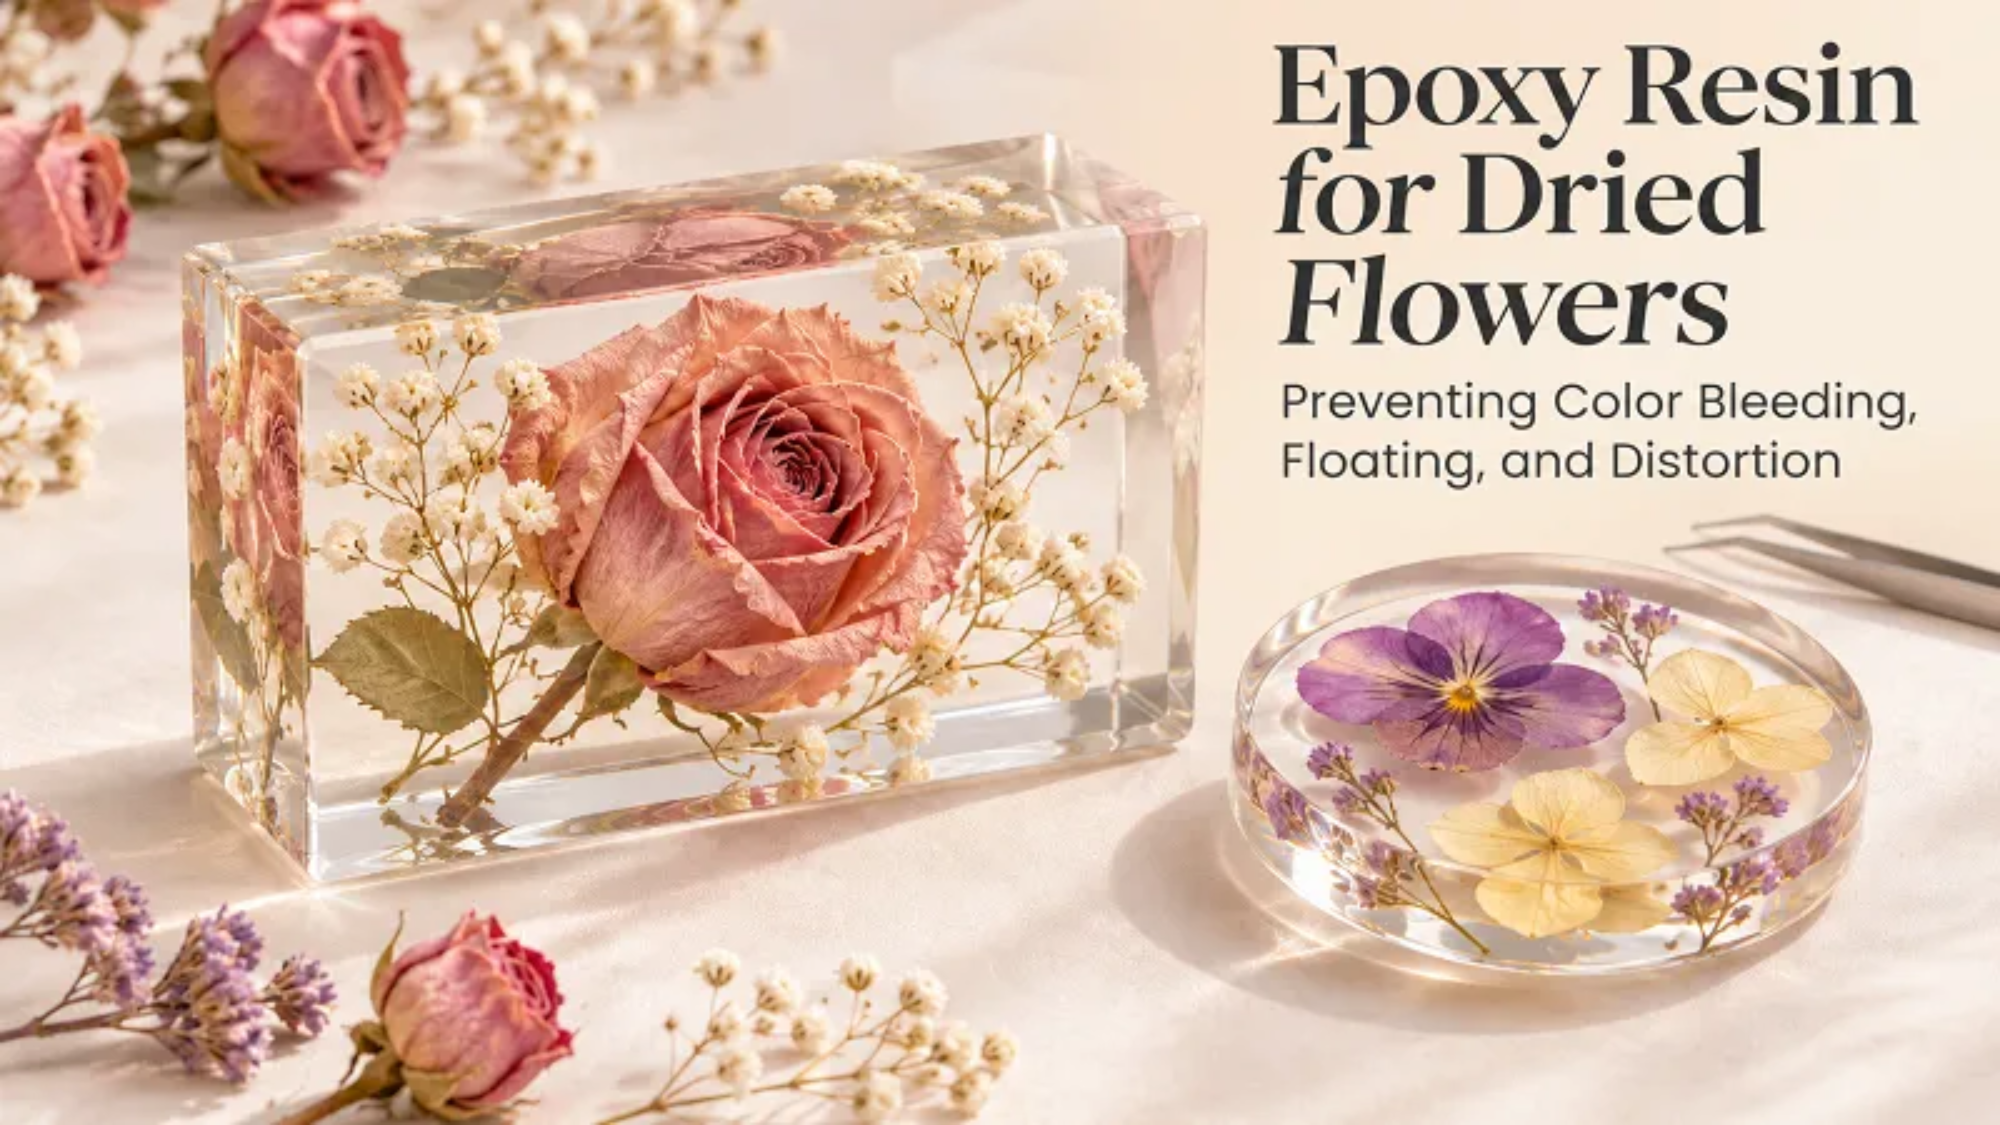
A rose can look flawless on the bench and fall apart the moment resin touches it. Patches go glassy. The bloom drifts toward the surface. A stem bows as the mold fills. If those flowers came from a wedding, there’s no second attempt.
Picking a clear epoxy is only the start. Most failures trace back to four things: how the flowers were dried, whether anyone tested them first, how they were held down, and what the resin did while it cured. Identify which defect you’re actually looking at, and the fix gets much easier.
1. Name the defect first
Bleeding, floating and distortion look similar from across the room. They don’t share a cause.
| What you see | Likely cause |
|---|---|
| Colored halo or streak in clear resin | Dye, flower treatment, or sealer reacting with the epoxy |
| Petals look wet or see-through, resin around them is clear | Resin soaking into thin or damaged tissue |
| Flower rises, tilts or slides sideways | Trapped air, buoyancy, weak anchoring |
| Petals fold, stems bend, arrangement shifts | Drying damage, rough handling, pour force, curing heat |
| Flower looks stretched or enlarged from one angle | Curved mold surface, not actual damage |
A darker petal doesn’t always mean pigment leaked. A “stretched” flower in a domed paperweight may be perfectly intact. Photograph the flowers before casting, then check the finished piece from several angles before you change anything.
2. Match the epoxy to the casting
The right epoxy resin for dried flowers depends on how thick the casting is.
Pressed-flower pendants and thin decorations need a resin that behaves in a thin section, and UV resin is a common choice there. Whole roses, bouquet blocks and thick paperweights need a casting system rated for depth, which means a deep pour epoxy. A table top epoxy is built for thin coats. Don’t assume it can fill a deep mold. If you’re a hobbyist starting with small keepsakes, the DIY resin range is the easier entry point.
Check the technical data sheet for these. If the sheet’s wording confuses you, our guide on how to read an epoxy resin SDS and TDS explains which document answers which question.
- maximum layer depth and total casting volume
- working time at your batch size
- application temperature range
- recoat window, demolding time and full cure time
- initial clarity and yellowing resistance
Deep-pour systems cure slowly on purpose, to keep heat down in large volumes. Put one in a thin pendant and it may stay soft for days. Read the sheet against your actual project. “Crystal clear” on the label tells you very little.
If you’re buying for production, send the supplier your mold dimensions, resin volume, room temperature and flower type. That gets you a better answer than asking for “the best flower resin.”
3. Dry the flowers properly
Resin won’t finish the job drying started. A petal can feel dry at the edge while the base and stem still hold moisture.
Pick the method for the look you want. Pressing suits flat work like bookmarks and thin pendants. Silica gel holds the shape of 3D blooms. Air drying works when you can live with some curling and duller color.
Start with good flowers. Bruises, tears and wilting survive encapsulation, and clear resin makes them easier to spot. Follow the desiccant’s instructions rather than a set number of days, because species, bloom size and the state of the silica all change the timing. Brush off loose particles before casting.
Store dried flowers in a sealed, clean container. If they’ve sat in humid air, check them again. A sealer on the surface won’t rescue a damp center.
4. Test for bleeding before the real pour
Commercial dried flowers are often dyed, painted or treated, and you can’t tell by looking whether that treatment holds up in epoxy.
Run a quick comparison with petals from the same batch:
- Keep one petal untouched as your reference.
- Embed one directly in the epoxy you plan to use.
- Seal a third with a clear coat, let it dry fully, then embed it.
- Cure everything and compare.
Look past the petal itself. Colored trails in the surrounding resin are what you’re hunting for.
A clear acrylic spray or another compatible craft sealer can act as a barrier, but none works on every flower, dye and resin combination. The sealer can also change how the flower looks. Spray light coats. A heavy wet coat flattens petals and pools between layers.
If sealed samples still bleed, change the flowers. Piling on thicker coatings rarely fixes it. For commercial work, log which flower batches pass, because a supplier’s next shipment may not behave like the last one.
5. Darkened or see-through petals
Sometimes nothing bleeds, and the petal just changes. Pale petals turn translucent. Damaged spots go patchy and wet-looking, because resin soaks into porous tissue.
A tested sealer can reduce this, but it won’t guarantee the dry flower’s original look. Compare sealed and unsealed samples in the same light, on a white background, where transparent patches show up fast.
Be honest with customers on sentimental pieces. A dried flower is already different from the fresh one. Casting preserves what’s left. It won’t recreate the bouquet.
6. Anchor the flower so it can’t float
Dried flowers are light and full of air. Pushing one into liquid epoxy and hoping it stays put rarely works.
Build in stages instead. Pour a base layer, and when it’s ready for the next step (check the product’s instructions, since timing varies by system), fix the flower with a small dab of compatible resin at a spot nobody will see. Let that dab firm up enough to resist movement, then add the surrounding resin.
For big blooms, lay a support bridge across the mold and hold the stem or another sturdy point. Keep supports out of the viewing area, and plan how they’ll come out without damaging anything.
Pour into an open corner of the mold, not onto the petals. Let the resin flow around the flower. Thickness changes how it moves, so it helps to understand how viscosity affects flow, self-leveling and pour depth. Check the arrangement from above and from the side while you can still adjust it.
7. Get the air out without hurting the petals
Air trapped under a petal turns into a silver patch once cured. Bubbles also collect in dense flower centers and where petals overlap.
Look at the underside of each flower before it goes in. If a test shows it can take it, a thin coat of freshly mixed resin on accessible areas helps wet the surface. Skip the vigorous brushing, because dry petals tear.
While pouring, use a fine tool to nudge reachable bubbles away from the flower, and only while the resin is still workable. Poke at thickening resin and you’ll leave marks. Don’t count on a heat gun for bubbles deep inside a bloom, and extra heat can damage the flower.
For most small workshops, good prep, a gentle pour and enough working time beat buying pressure or vacuum gear without a proven process.
8. Control heat and movement
Epoxy gives off heat as it cures. How much depends on the formula, the resin mass, the shape of the casting and the room.
A deep mold filled with the wrong resin can overheat badly. Even the right casting epoxy has limits, so stay inside them:
- Mix by the specified ratio. Our mixing ratio guide for table top, deep pour and UV resin covers how the systems differ.
- Keep the room within the recommended range. If your shop runs cool, read our notes on cold weather epoxy resin.
- Respect depth and batch-volume limits, and split the pour into layers when required.
- Follow the manufacturer’s cooling and recoat guidance.
Never add extra hardener to speed things up, or cut it to slow things down. A wrong ratio can leave the resin permanently uncured.
Distortion can also start before you mix. A flower crushed during drying, or jammed into a mold that’s too small, won’t spring back once resin surrounds it. Choose a mold with room around the petals and space for every layer.
9. Plan your layers before the first pour
Layers give you control over position and depth, but every layer adds an interface where problems can hide.
Stick to the recoat window. Past it, the supplier may want the surface cleaned and prepped before the next pour. Do that only on accessible resin, away from exposed petals. Don’t treat tackiness as the only signal to keep going. Some systems need the previous layer to cool first.
Keep the mold level and the surface dust-free. Let the casting cure fully before demolding. A piece firm enough to pop out may not have reached its final hardness, and early handling leaves marks that show badly in clear resin.
10. Turn it into a repeatable process
For a one-off keepsake, a small trial is cheap insurance. For a craft business, it becomes quality control.
Record the flower source, drying method, sealer, resin batch, mix ratio, room temperature, layer sequence and cure schedule. Photograph every sample against the same background so small changes are easy to spot. Keep a reference casting whenever you test a new supplier or flower treatment. A small sample proves basic compatibility, but a bigger piece still needs its own heat and pour check. When you do switch suppliers, this 12-point sample evaluation checklist keeps the comparison honest.
If you’re scaling up and want formulas tuned to your molds, work with an epoxy resin manufacturer that can match the product to your pour depth and cure schedule.
Once it’s done, keep the piece out of strong sun and heat. UV-resistant resin slows yellowing, and you can see how that’s verified in our epoxy resin yellowing test guide. It won’t stop natural flower pigments from fading over time.
The pattern behind good results is simple: dry thoroughly, test first, anchor the arrangement, and use an epoxy suited to the casting. Do those four things and every bloom turns out far more predictably.